Permissions allow to start RDP, SSH or web sessions. A permission can be given out both from resource profile and from the Permissions section.
- Switch to the Resources section and find the required resource
- Open the resource profile and click Add permission
Find the required user the permission should be given to
To do so, enter Name, Last name, Phone number or Email to the search string completely or partially.
- Find a local or domain Access account and select it. To find the account enter Account name completely or partially.

- Configure Access schedule:
Start date - the date when permission becomes active
End date - the date when permission becomes inactive
Start time - the time when the permission becomes active
End time - the time when permission becomes inactive
Mark the required parameters and set their values.
Configure View account credentials
If the user has to have the right to view the password of the account, then activate the Allow user to view account credentials option.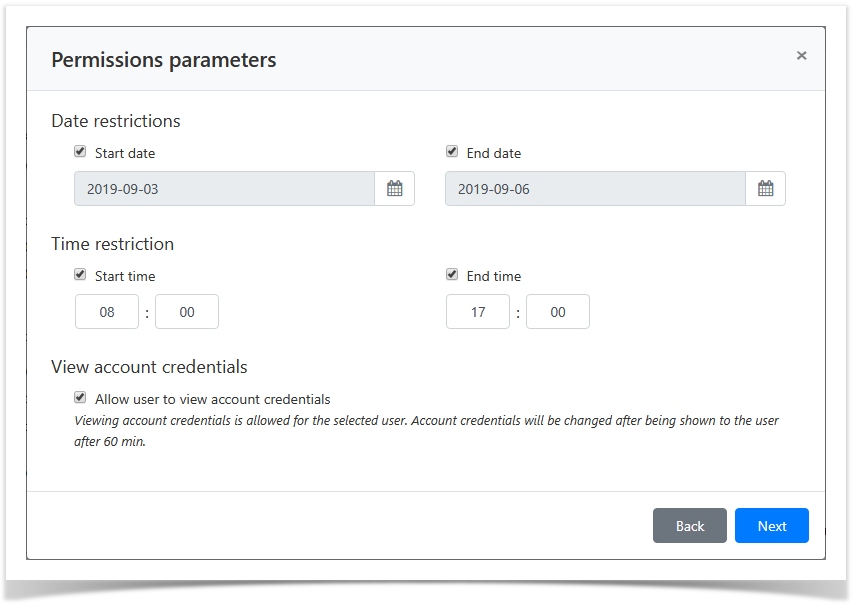
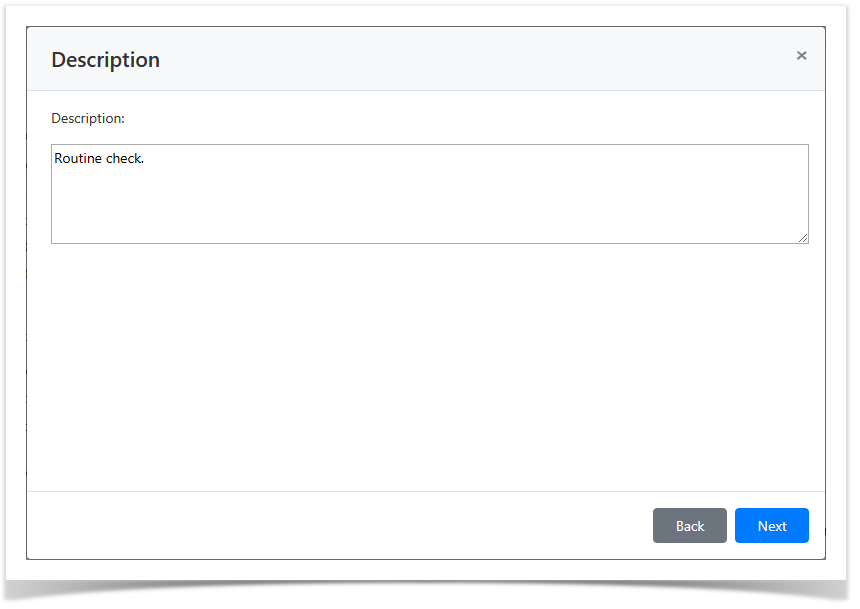
- If necessary, fill in the Description for the permission:
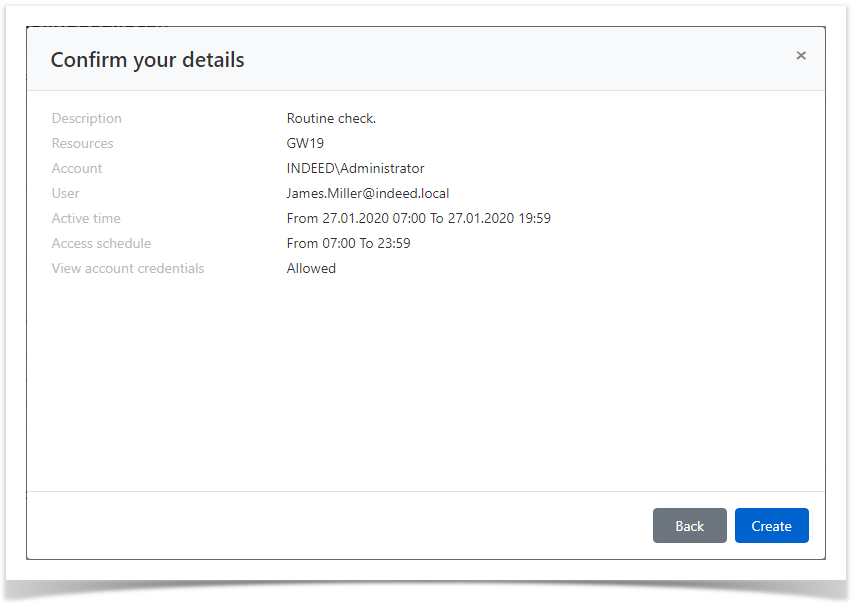
Look through the permission parameters again and click Create.