Permissions allow to start RDP, SSH or web sessions. A permission can be given out both from user profile and from the Permissions section.
- Switch to the Users section and find the required user.
- Open the user profile and click Add permission.
Select one or several resources to allow access to.
To find the resource enter Resource name or Address (DNS address/IP address) completely or partially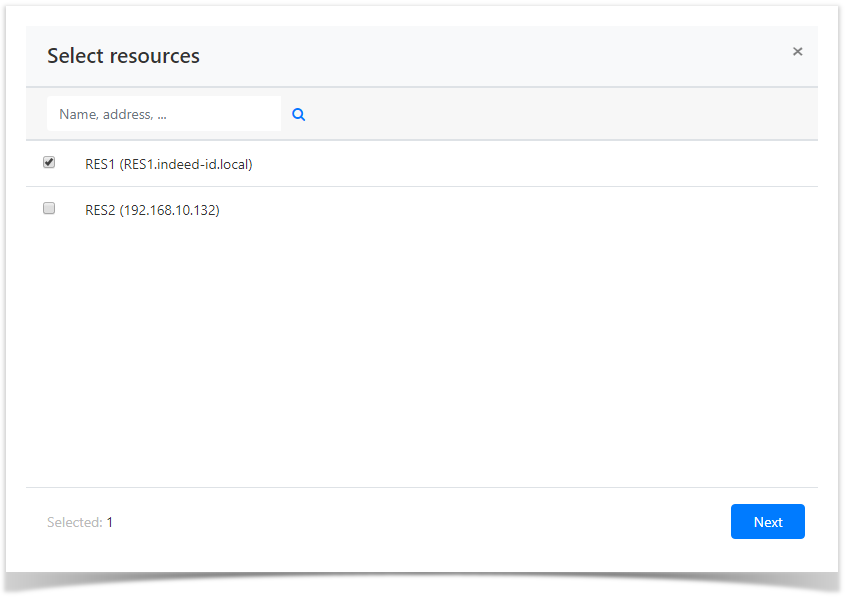
- Select the account to start sessions at the resource with.
To find the account enter Account name completely or partially.
If you select "Continue using user account" (it will be available if an account is not selected), a user account will be used to connect to the resource. In the case of an SSH connection, you will need to enter user authentication data when entering the resource. - Configure the Active time and Access schedule, mark the necessary parameters and set the values for them:
- Begin - year, month and day when permission becomes active.
End - year, month and day when permission becomes inactive.
For convenience, you can use the calendar by clicking the appropriate button. When specifying the access schedule, the time limit during the day will work:
Configure View account credentials.
If the user for whom permission is created must have the right to view the password or SSH key of the access account on behalf of which the session will be opened, then select the Allow user to view account credentials option. Accordingly, the option is not available for the User account.
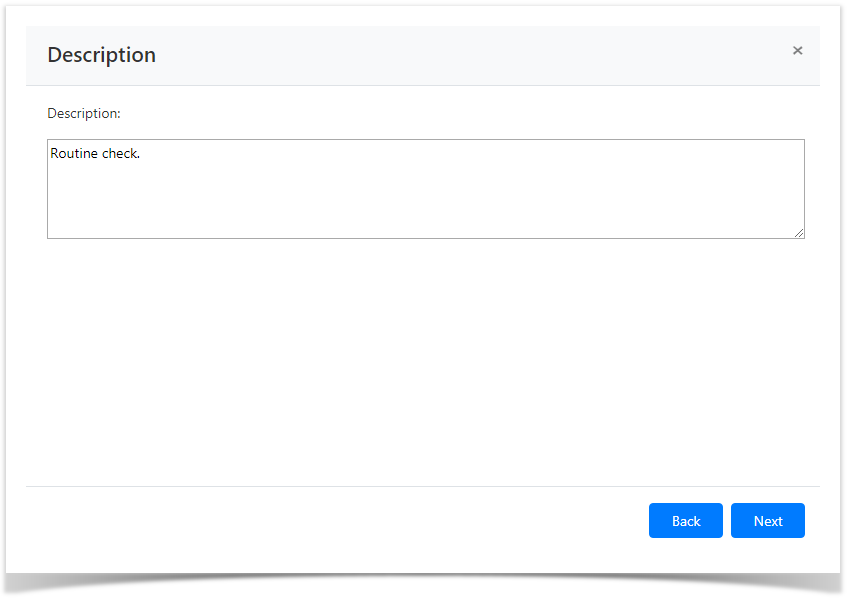
- Fill in the Description for the permission, if required.
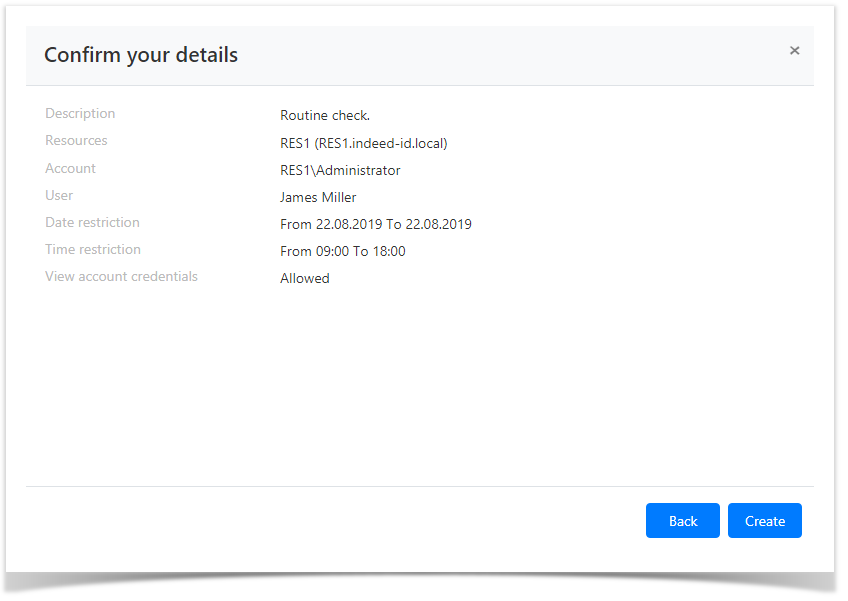
Look through the permission parameters again and click Create.