During the issue procedure, the smart card is personalized for the user: the device is initialized, key pairs are generated, required certificates are enrolled and the all these are written to the smart card according to the defined usage policy.
Certificate request creation and writing to the card are performed in the following order:
- A key pair is generated at the client side using a cryptographic service provider (CSP).
- A certificate request is generated, to which the user public key is attached.
- The request is signed with the user private key.
- The request is signed by the key of CA operator service account, owned by the Indeed CM system server.
- The request is sent to the certification authority.
- The issued certificate is written to the media by means of cryptographic service provider.
To issue a card to a user, proceed as follows:
- Switch to Users tab and search for the user.
- Switch to the user card by clicking his or her username in the search results.
- Click Issue card.
If the smart card usage policy allows to Optional certificate option to be written to a card, select the required ones and click Next.

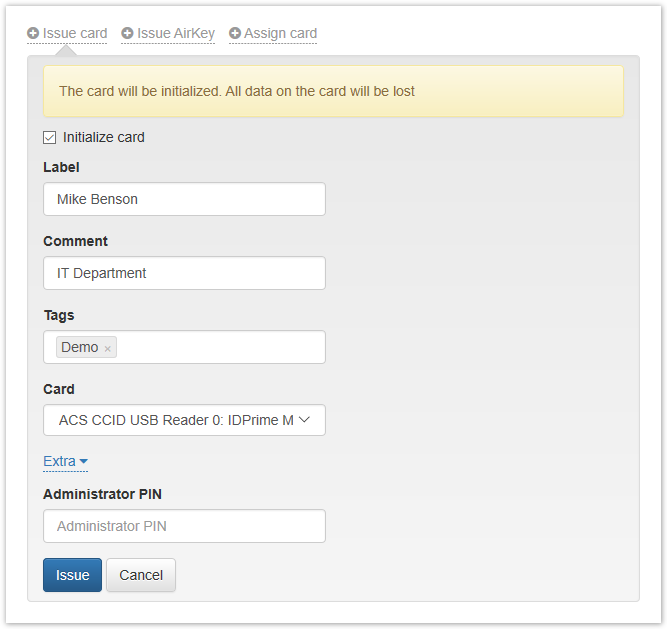
4. Connect the smart card to a computer, set the device name and enter the following, if required:
Card label can be formed automatically. See Smart card issuance settings.
- Label – smart card label or friendly name
- Comment – some useful note about the card (e.g. name of department that this card supposed to be used)
- Card – Smart card reader name with connected card
- Advanced – depending on the smart card type the following fields can be available:
- Administrator PIN
- User PIN
- Initialization key
Named values might be empty. In this case, they will be set automatically according to the values in the Configuration – Card types section.
To issue a smart card, click Issue.
If smart card initialization is activated in the usage policy, the corresponding notification is displayed in the course of issue.
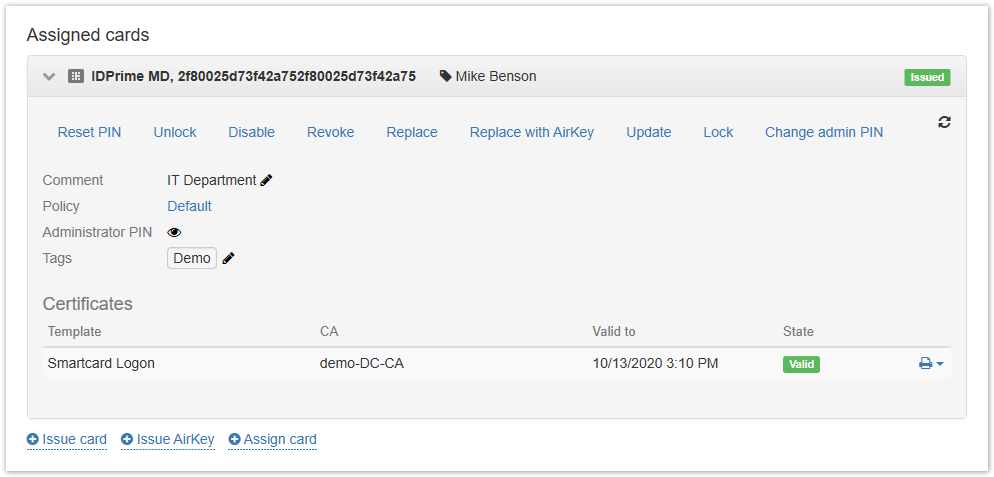
5. After the card is issued, the Assigned cards section appears in the User card, containing the information about the issued card:
- Type serial number
- Label (if defined)
- Name of the policy the card was issued with
- Administrator PIN code
Available if Viewing device SO PIN option is activated in Common features section of Indeed CM Setup Wizard.
- Enrolled certificates: Template name, Certification Authority name, expiry date and current status
To set or modify the comment, click ![]() , to view the administrator PIN code click
, to view the administrator PIN code click ![]() .
.
The latter is only available to users with Indeed CM Admins privileges.
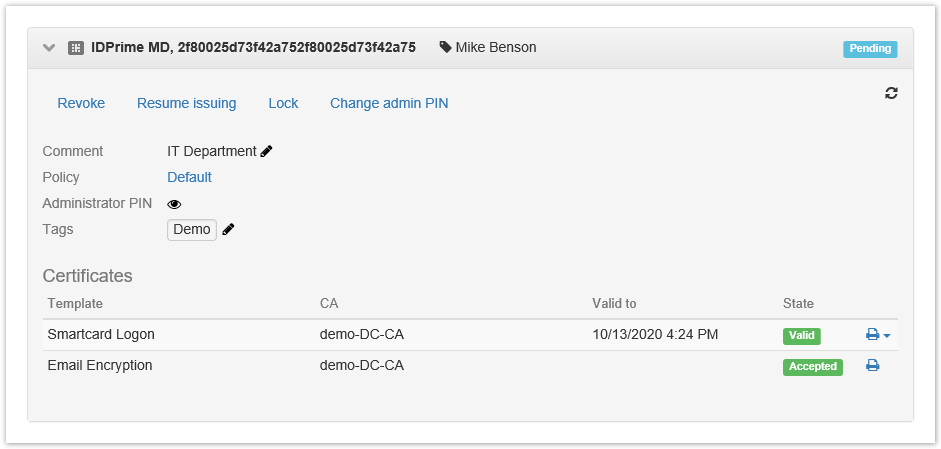
If certificate request needs to be approved by certification authority operator (see Smart card life cycle), then the request current state is displayed in the user card.
All possible certificate status private keys, certificate requests with their description is given in section Certificate status.

6. After approval the certificate state changes to Accepted. Then you can continue card issuance (the Resume issuing button becomes active).
Even if one of the certificates was approved automatically (its status is Valid), it will be written to smart card only after the Resume issuing button is clicked.
Card issuance is only possible if all the certificate requests are approved by CA operator.
7. After smart card is issued, a randomly generated user PIN code is displayed, if the smart card issuance policy is set up accordingly. The set PIN code can be send to the user or his/her manager e-mail (see Setting PIN in User notifications of Indeed CM smart card policy) or printed.
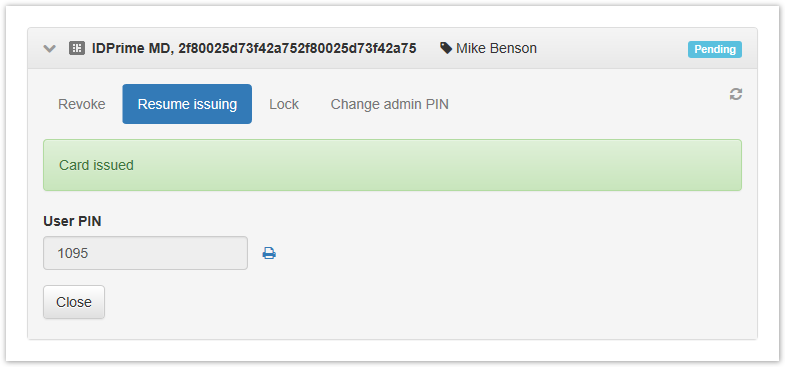
To print the PIN code, click ![]() . The print page opens in a new tab.
. The print page opens in a new tab.
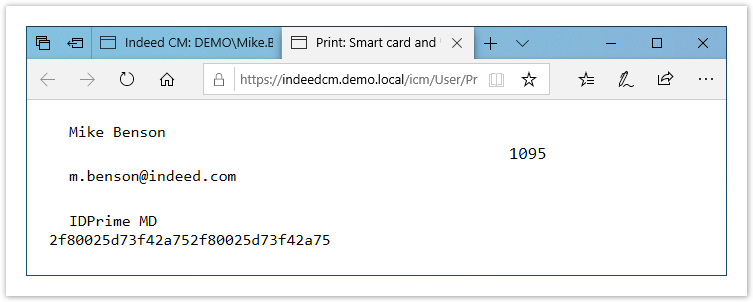
Print parameters reside in the C:\inetpub\wwwroot\icm\Content\pinenvelope.xsl template.
By default, user information (name and email) and device data (type, serial number and user PIN code) is printed. To modify the print template, edit pinenvelope.xsl file accordingly.