Для открытия To start RDP, SSH или web-сессий от имени доменных учётных записей, а также для управления ими необходимо добавить их в базу Indeed PAM. Добавление может быть выполнено двумя способами.
Ручное добавление учётной записи
or web sessions under domain accounts, as well as to manage those, it is necessary to add them to Indeed PAM database. This can be done in two ways.
Adding an account manually
- Switch to the Domains section and search for the required domain.
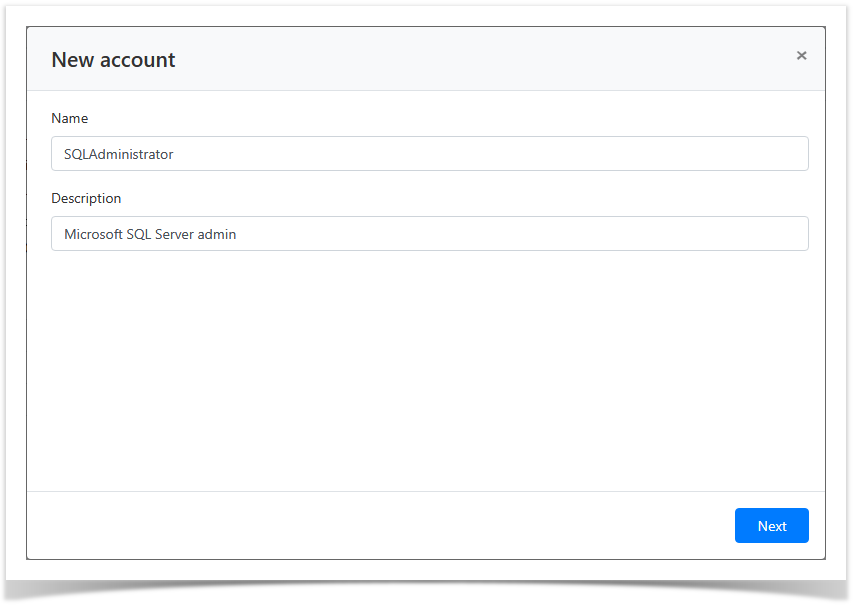
- Open the domain profile and click Add account.
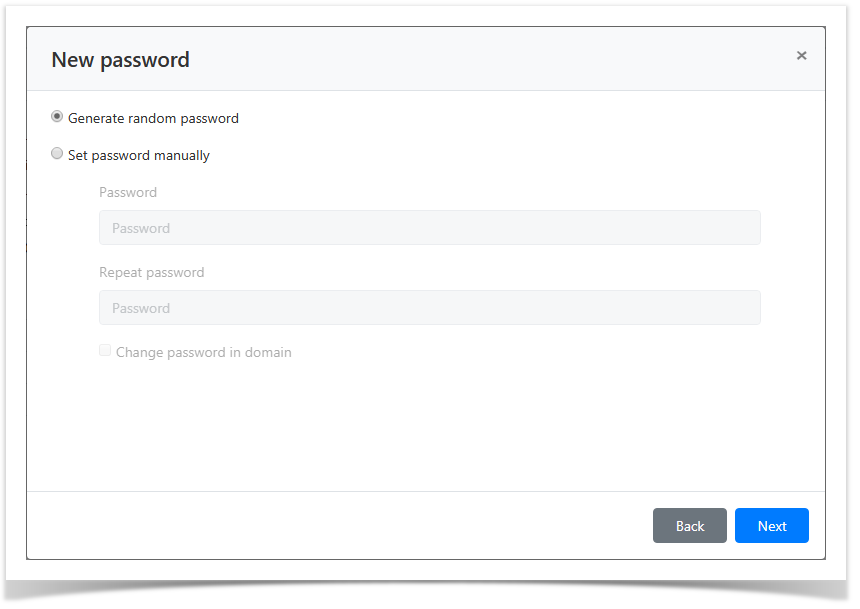
- Select one of the password setting options:
- Generate random password
Set password manually
- Перейдите в раздел Домены и выполните поиск.
- Откройте профиль домена и нажмите Добавить учётную запись.
- Выберите одну из опций для установки пароля:
- Сгенерировать случайный пароль
Задать пароль вручную
Note icon false Опции Сгенерировать случайный пароль или Задать пароль вручную + Изменить пароль в домене могут быть использованы только при наличии сервисного подключения. Если выбрана опция Задать пароль вручную без Изменить пароль на ресурсе, то пароль учётной записи будет изменён только в Indeed PAM.
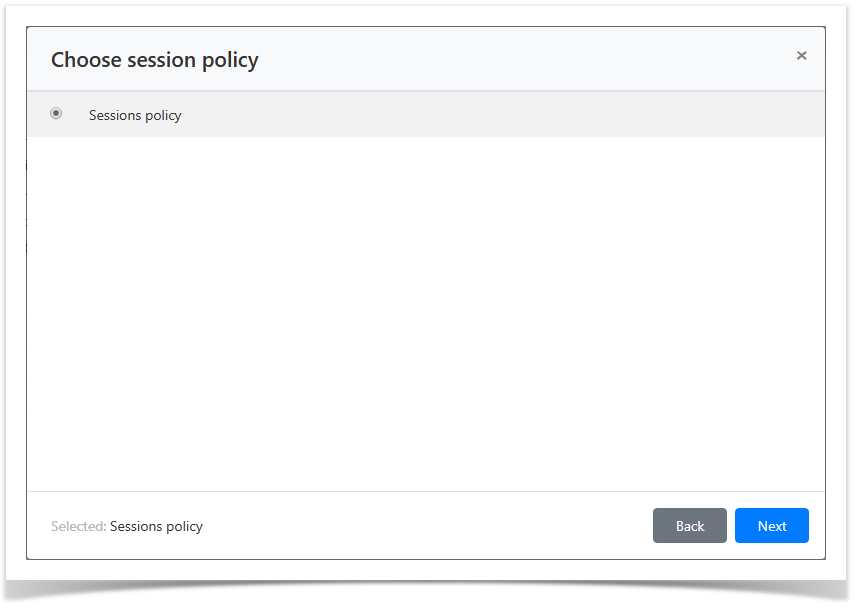
- Выберите политику сессий.
Options Generate random password or Set password manually + Change password for domain can only be used with service connection. If Set password manually option is selected, and Change password for resource is not, then the account password is changed in the Indeed PAM only.
- Choose session policy.
Look through the account parameters again and click SaveОзнакомьтесь с деталями учётной записи и нажмите Сохранить.
Note icon false Если необходимо изменить параметры учётной записи, то вы можете вернуться на любой шаг нажав НазадIf you need to modify the account parameters, simply click Back to return to the required step.

Синхронизация учётных записей
Account synchronization
- Switch to the Domains section and search for the required domain.
- Open the domain profile and click Sync accounts.
- Confirm the action by clicking Sync
- Перейдите в раздел Домены и выполните поиск.
- Откройте профиль домена и нажмите Синхронизировать учётные записи.
- Подтвердите свои действия нажавСинхронизировать.
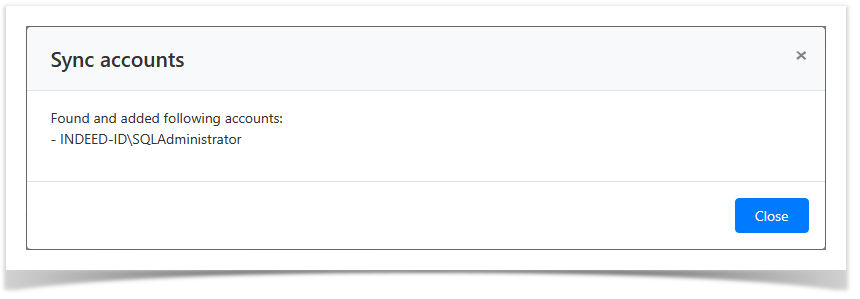
Найденные учётные записи отобразятся на вкладке Доменные учётные записи домена и будут иметь состояние Ожидает решения (Note icon false Опция Синхронизировать учётные записи может быть использована только при наличии сервисного подключения.
 ). Для продолжения работы с учётными записями необходимо изменить их состояние. Изменение состояния учётных записей описано пункте Управление состоянием УЗ для раздела Учётные записи.
The Sync accounts option can only be used if you have a service connection.
The found accounts are then displayed in the Domain accounts tab with Pending state (
). To work with the accounts, you have to change their state. The corresponding procedure is detailed in the Account states management paragraph of Accounts section.
Backtotop Delay 0 Distance 250
| Divbox | ||||
|---|---|---|---|---|
| ||||
|