Versions Compared
Key
- This line was added.
- This line was removed.
- Formatting was changed.
Permissions allow to start RDP, SSH or web sessions. A permission can be given out both from resource profile and from the Permissions section.
- Switch to the Resources section and find the required resource
- Open the resource profile and click Add permission
Find the required user the permission should be given to
To do so, enter Name, Last name, Phone number or Email to the search string completely or partially. Image Added
- Find a local or domain Access account and select it. To find the account enter Account name completely or partially.
 Image Added
 - Configure the Active time and mark the necessary parameters and set the values for them:
Begin - year, month, day and time the permit began
End - year, month, day, and time the permit expires
You can use the calendar by clicking the appropriate button
Mark the required parameters and set their values.
 Image Added
Note icon false Under the calendar, a time selection tool is available. You can also manually enter dates and times.
When specifying the Access schedule, the time limit during the day will work:
 Image Added
Note icon false If the Active time does not contain the marked parameters, then the resolution will be considered unlimited.
If the Access schedule does not contain the marked parameters, then the permission will be valid around the clock. If the Access schedule is outside the scope of the Active time, then priority is given to the Active time.- Configure the View account credentials option.
If the user must have the right to view the password of the access account, check the Allow user to view account credentials box. Image Added
 - If necessary, fill in the Description for the permission:
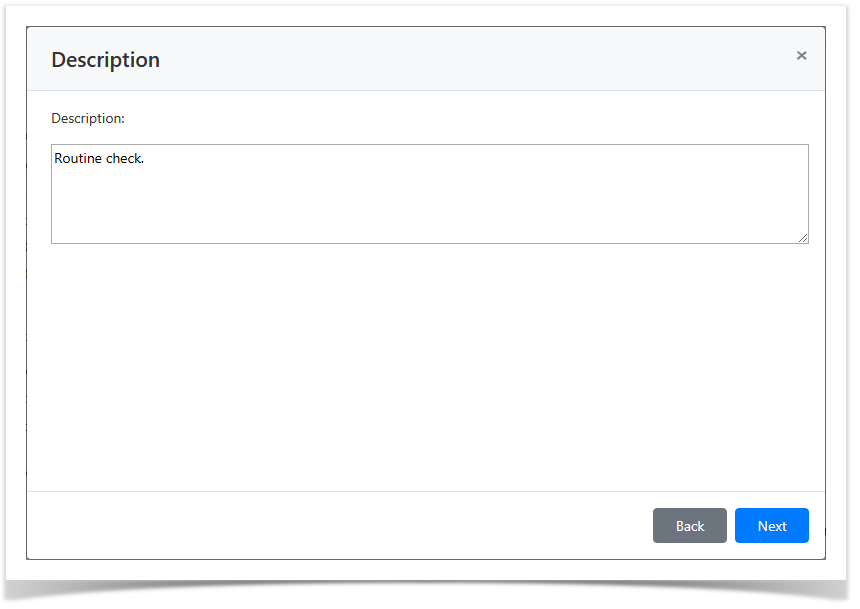 Image Added
 Look through the permission parameters again and click Create.
Note icon false If you need to modify the permission parameters, simply click Back to return to the required step.
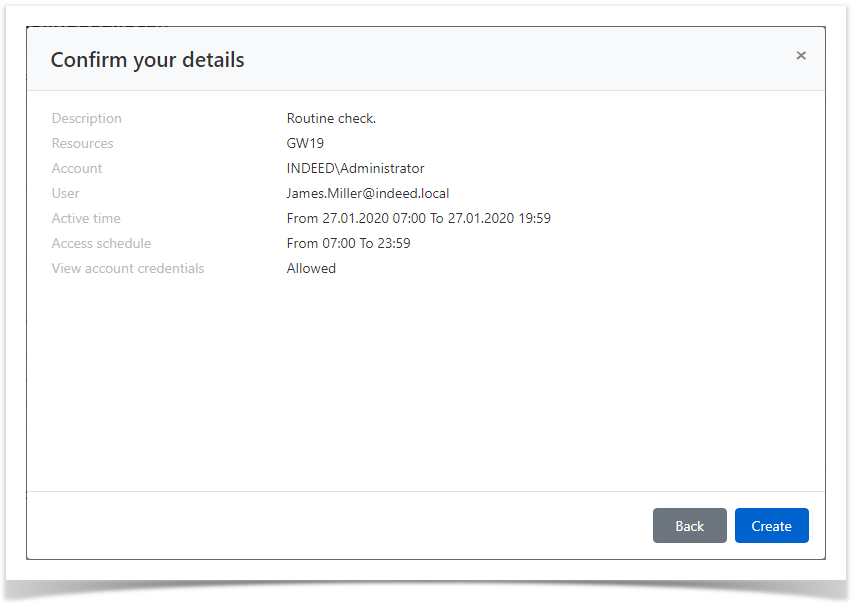 Image Added
| Backtotop | ||||
|---|---|---|---|---|
|
Для предоставления пользователю Active Directory доступа к выбранному ресурсу необходимо добавить разрешение:
Поддерживаются шаблоны поиска:
- Имя учётной записи полностью.
- Часть имени учётной записи, вхождение символов учитываются в любой части строки.
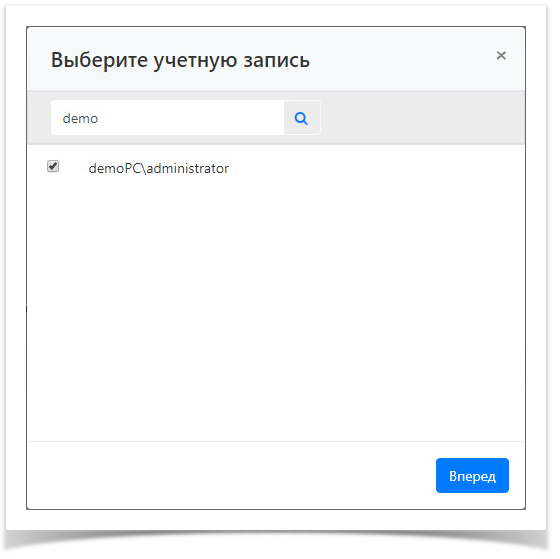 Image Removed
Поддерживаются шаблоны поиска:
- Имя, фамилия или email полностью.
- Часть имени фамилии или email, вхождение символов учитываются в любой части строки.
- "*" - вывод всех результатов.
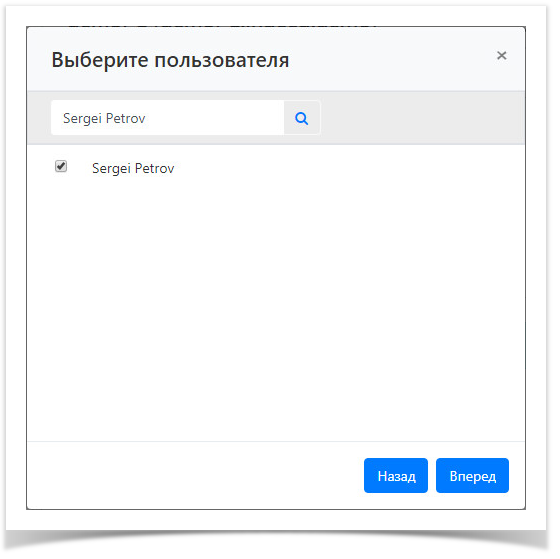 Image Removed
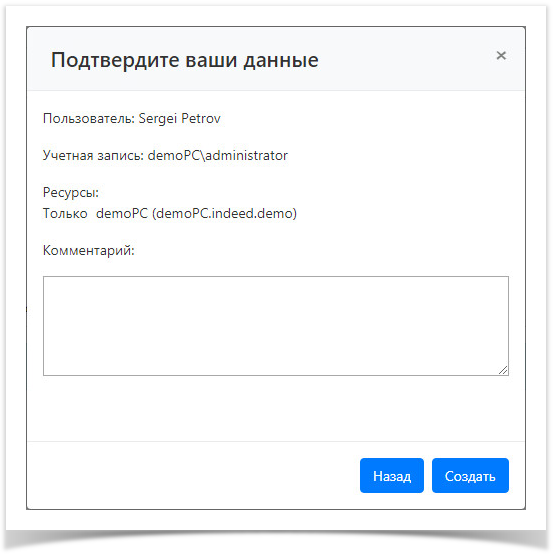 Image Removed