Make managed
Bulk account management
- Mark one or several accounts in the Accounts section and click Make managed.
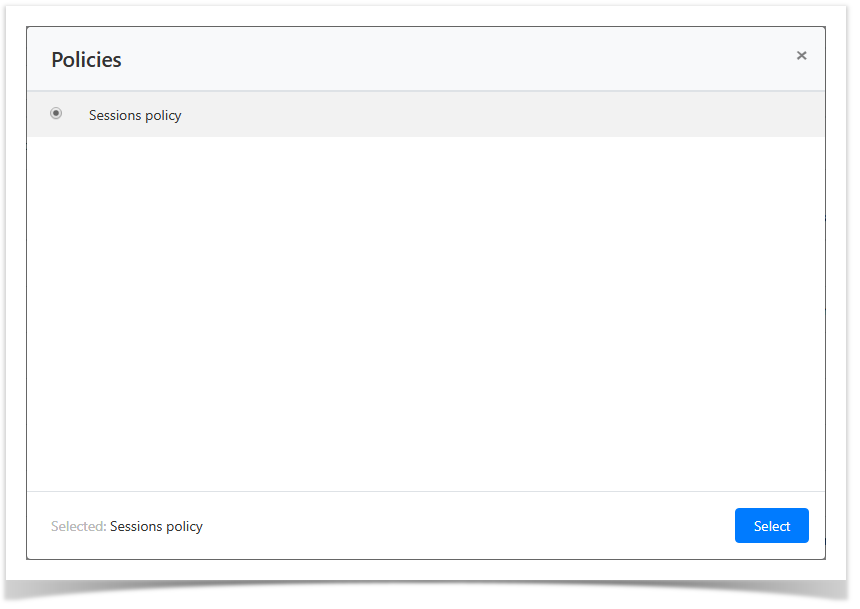
- Choose the session policy.
Confirm the action by clicking Make managed.

Account management from its profile
- Switch to the Accounts section and search for the required account.
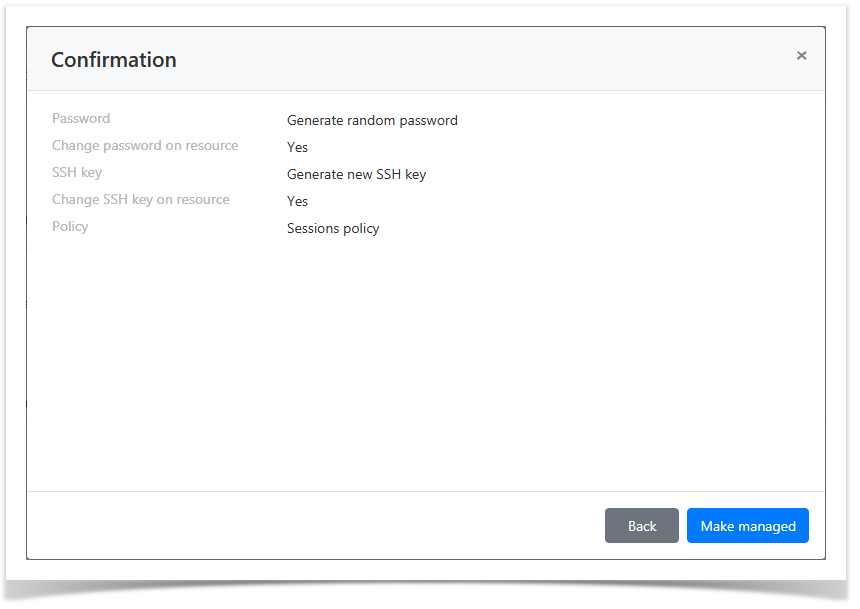
- Open the account profile and click Make managed.
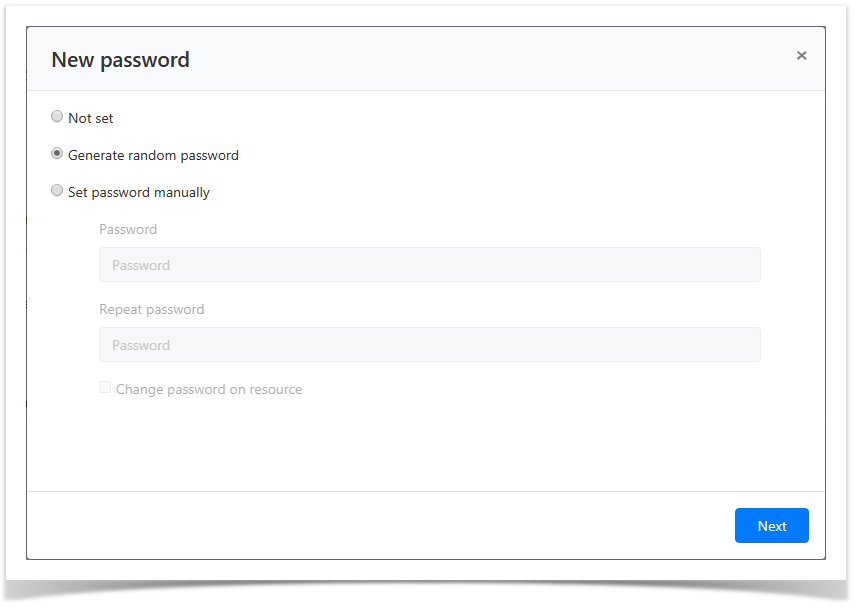
- Select one of the password setting:
Not set
Generate random password
Set password manually + Change password for resource
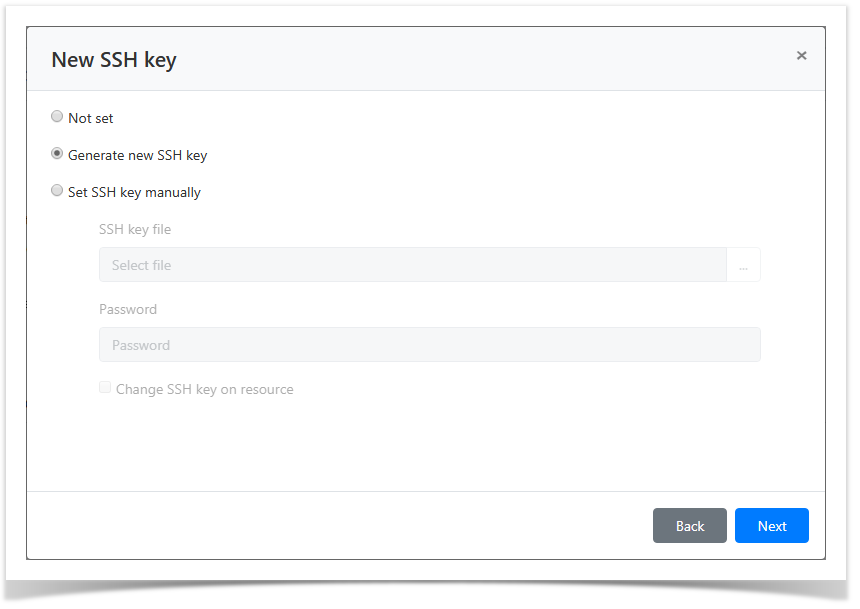
- Select one of the SSH key setting options: :
Not set
- Generate new SSH key
Set SSH key manually + Change SSH key for resource
- Choose the session policy.
Look through the account parameters again and click Make managed.
Ignoring
Ignored accounts are marked with ![]() symbol in the Account section. Their profiles contain service message that states - Account is ignored.
symbol in the Account section. Their profiles contain service message that states - Account is ignored.
Bulk account ignoring
- Mark one or several accounts in the Accounts section and click Ignore.
- Confirm the action by clicking Ignore again.
Account ignoring from its profile
- Switch to the Accounts section and search for the required account.
- Open the Account profile and click Ignore.
- Confirm the action by clicking Ignore again.
Blocking
Bulk account blocking
- Mark one or several accounts in the Accounts section and click Block.
- Confirm the action by clicking Block again.
Account blocking from its profile
- Switch to the Accounts section and search for the required account.
- Open the Account profile and click Block.
- Confirm the action by clicking Block again.
Removing
Bulk account removal
- Switch to Accounts section and mark one or several accounts.
- Click Remove. Confirm the action by clicking Remove again.
Account removal from its profile
- Switch to the Accounts section and search for the required account.
- Open the Account profile and click Remove.
- Confirm the action by clicking Remove again.
Restoring
- Switch to the Accounts section and click Extended search. Файлы
- Enter the account name and select Removed state.
- Select the account Location, click Ok, then Search:
- Resources
To search, enter Resource name or Address (DNS name/IP address) completely or partially. - Domains
To search, enter domain NetBIOS or DNS name completely or partially.
- Resources
- Open the account profile and click Restore.
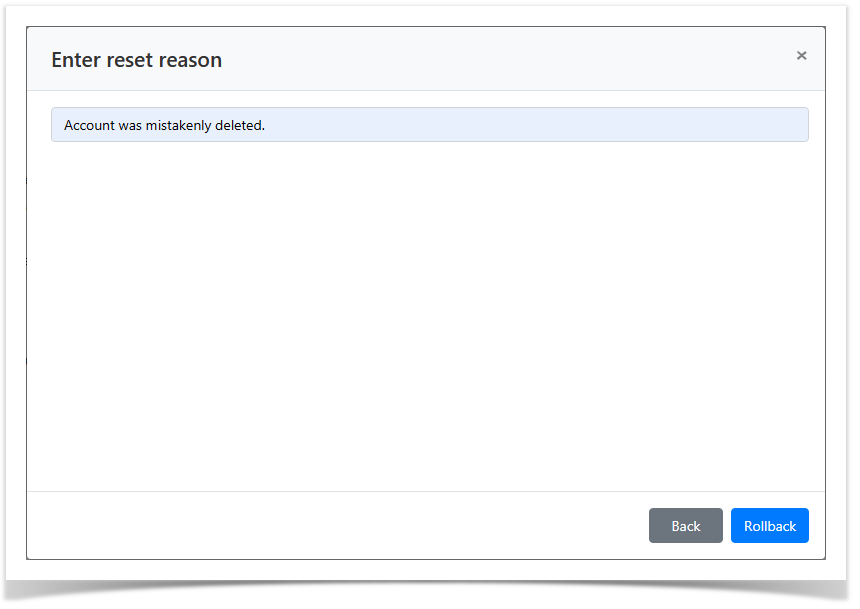
Select the restore point and click Next.

- Specify the reset reason and click Rollback.