Creating a service account
To enable the Axidian CertiFlow system to operate with the database, create a service account and grant it the required permissions:
1. Open pgAdmin, enter master password and connect to server.
2. In Browser section right-click on Login/Group Roles menu item.
3. Select Create→Login/Group Role.

4. Go to General tab and enter the role name in the Name field (e.g. cfServiceSQL).
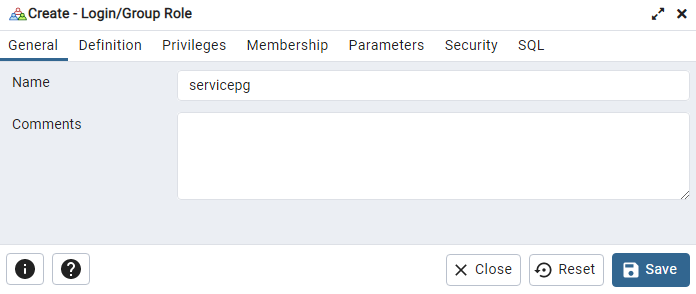
5. Go to Definition tab and enter your password in the Password field. Account expires field should be set to No Expiry.

When creating a service account, you must disable password expiration.
6. Go to Privileges tab and turn on the Can Login? parameter.
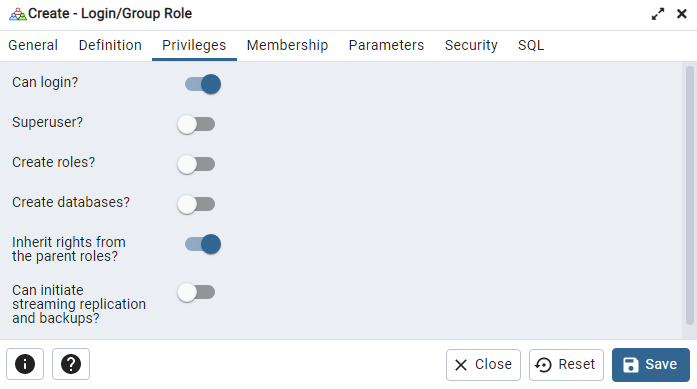
7. Leave the rest of the fields with default values and click Save.
Creating a database
The database used as data storage is created manually. To populate the database, use the Storage-Postgre.sql script included in the Axidian CertiFlow installation package (\CertiFlow.Server\Misc).change
1. Create a database in the pgAdmin environment with an arbitrary name:
- In Browser section right-click on Databases menu item.
- Select Create→Database.

- Go to General tab and enter a name in the Database field (e.g. CertiFlowDB). Select the created service account in the Owner list and click Save.

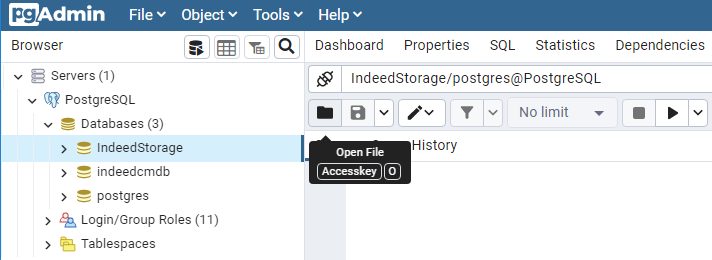
2. Select the database (CertiFlowDB) in Browser section and execute the Storage-Postgre.sql script:
- Select Tools→Query Tool.
- Click on Open icon
 in Query Tool menu and specify a path to the file Storage-Postgre.sql (\CertiFlow.Server\Misc change), click Select.
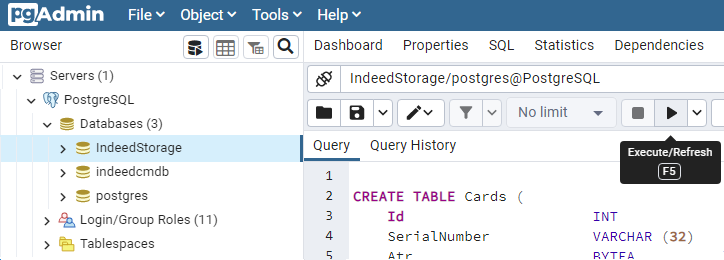
- Click Execute/Refresh button
 .
.
3. Grant privileges to service account for the database tables:
- Press
 button in Query Tool menu and select Clear Query.
![]()
- Enter the text of the request, specifying the account name:
GRANT ALL PRIVILEGES ON ALL TABLES IN SCHEMA public TO "specify service account";
GRANT ALL PRIVILEGES ON ALL TABLES IN SCHEMA public TO cfServiceSQL;
Setting up a remote connection to the database
Open the PostgreSQL config file pg_hba.conf.
pb_hba.conf file location:
For Windows OS: C:\Program Files\PostgreSQL\<version number>\data
For *nix OS: /etc/postgresql/<version number>/main
Add a line with the following format:
CONNECTIONTYPE DATABASE USER ADDRESS METHOD
Where values are referred to as:
- CONNECTIONTYPE – connection type. "Host" is specified, TCP/IP connection is used.
- DATABASE – name of the database.
- USER – database user name.
- ADDRESS – IP-address of the Axidian CertiFlow Server.
- METHOD – user authentication method.
host CertiFlowDB cfServiceSQL 192.200.1.0/32 md5