- Created by Vladislav Fomichev, last modified by Liliya Morozova on Nov 20, 2025
Files of Axidian AM Self Service reside in: axidian AM\Axidian AM Self Service\<Version number>\
- AxidianAM.SelfService-x64.msi is the installation package of Axidian AM Self Service.
Axidian AM Self Service is an IIS-based web application. Users can manage their own authenticators in this module.
Installation
- Install the Axidian AM Self Service by running AxidianAM.SelfService-x64.ru-ru.msi installer.
Add HTTPS binding in Default Web Site settings of IIS Manager.
Run IIS Manager and expand the Sites item.
Select the Default Web Site site and click Bindings item in the Actions section.
- Click Add:
- Type - https.
- Port - 443.
- Select the SSL Certificate.
- Save the binding.
Customization
If you want to save changes in the app configuration file, you need to use an administrator account to open the editor. The Axidian AM Self Service component uses SAML authentication by default. If necessary, you can set up transparent Windows authentication.
Authentication using Windows Authentication
- Open the IIS Manager, select Default Web Site, and open the am/uc app.
- Click on Authentication and enable the following parameters:
- ASP.NET impersonation
- Windows authentication
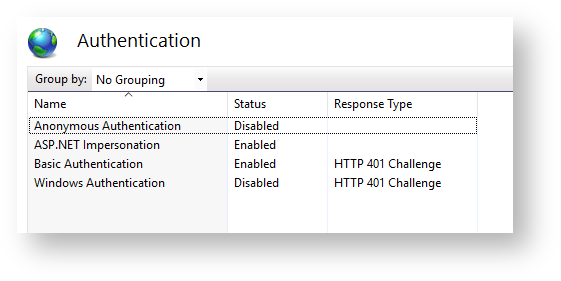
- Disable all other parameters.
- Open the Self Service Web.config configuration file (C: \inetpub\wwwroot\am\uc\Web.config).
Insert Windows in the mode parameter of the amAuthentication tag.
Please leave the loginUrl parameter unchanged. This parameter will not be used during Windows authentication.
<amAuthentication mode="Windows" loginUrl="" enableLogout="true" />
- Restart the IIS server.
Authentication using SAML idp
- Open the Self Service Web.config configuration file (C: \inetpub\wwwroot\am\uc\Web.config).
- Insert the URL for Axidian server connections (use the URL parameter in the amAuthServer tag).
URL parameter: Axidian server location should be specified as follows: http(s)://full_dns_server_name/am/core/.
The system will ignore server certificate errors if you set the isIgnoreCertErrors parameter to true in the applicationSettings.config file (am\uc\Config).
<amAuthServer Url="https://amserv.axidian-id.local/am/core/"/>
- Insert the URL for Axidian SAML server connections (use the loginUrl parameter in the amAuthentication tag).
- The loginUrl parameter: the location of the server with pre-installed Axidian SAML idp component should be specified as follows: http(s)://full_dns_server_name/am/idp/.
The enableLogout parameter (optional) activates Self Service logout.
<amAuthentication mode="Saml" loginUrl="http://saml.demo.local/am/idp" enableLogout="true"/>
- Open the SAML Web.config configuration file (C: \inetpub\wwwroot\am\uc\Web.config).
- Indicate the URL for Self Service server connections (use the SelfServiceUrl parameter in the amPartnerServiceProviderSettings tag).
The SelfServiceUrl parameter: the location of the server with the pre-installed Axidian Self Service component should be specified as follows: http(s)://full_dns_server_name/am/uc/.
<amPartnerServiceProviderSettings SelfServiceUrl="http://dc.demo.local/am/uc/" EmcServiceUrl="EMC_SERVICE_URL"/>
- Once you have finished editing the configuration files, please restart the IIS server. Self Service will be available at http(s)://full_dns_server_name/am/uc/.
Self Service login using SAML
- Open Self Service web interface in your browser.
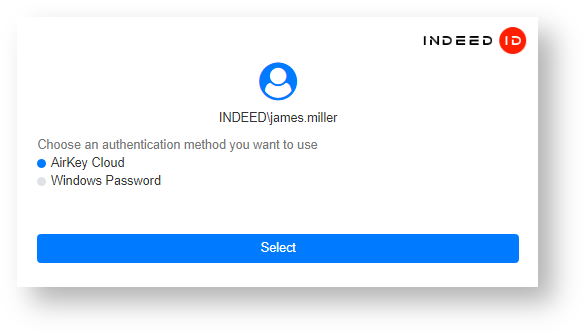
- In the pop-up SAML authentication window, click Back if you want to select authentication method. By default, most recent method will be used.
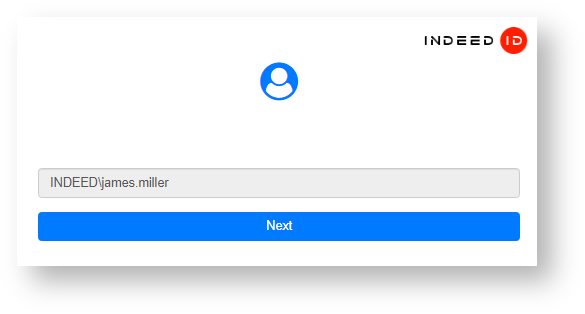
Choose an authentication method and click Select.
If you do not have a trained authenticator, select Windows Password.
When logging out of the SAML idp user session, you will not be logged out of Self Service until you restart your browser or your cookies expire. The SAML idp cookies will be stored for 30 minutes.
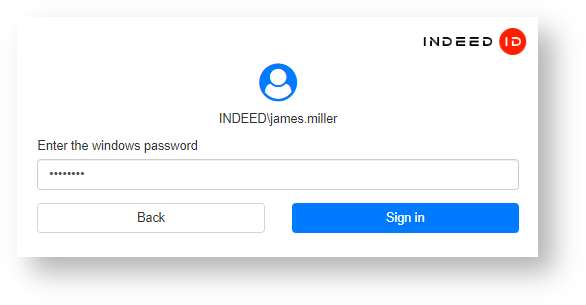
- Please enter your password and click Sign in. Once the data has been successfully added, you will be redirected to the user profile.
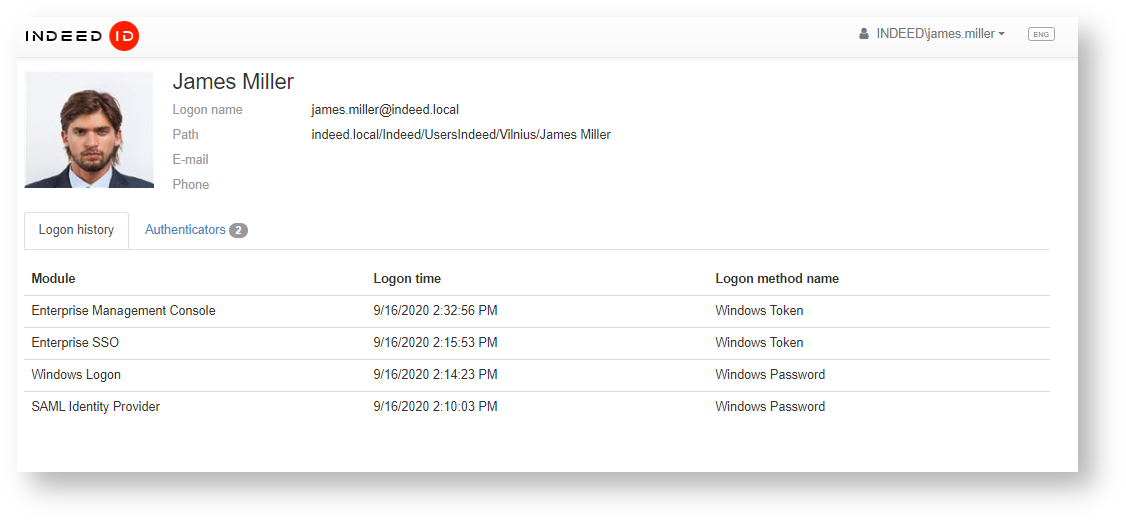
If you want to exit Self Service, proceed as follows:
This option will be active if you switched on the enableLogout parameter at the step 3.b above. Self Service logout is disabled by default.
- Click on the username at the top of the window.
Select Logout from the drop-down list.
When logging out of Self Service, you will also be automatically logged out of SAML idp.

- No labels