Adding a resource
To manage the resource local accounts and to provide for access to resource to directory users, you have to add a new resource to the Indeed PAM.
Switch to Resources section and click Add.
Fill in the Resource name and Description fields.
For Windows resources, you shold specify the real computer name, as it is used to start a session.
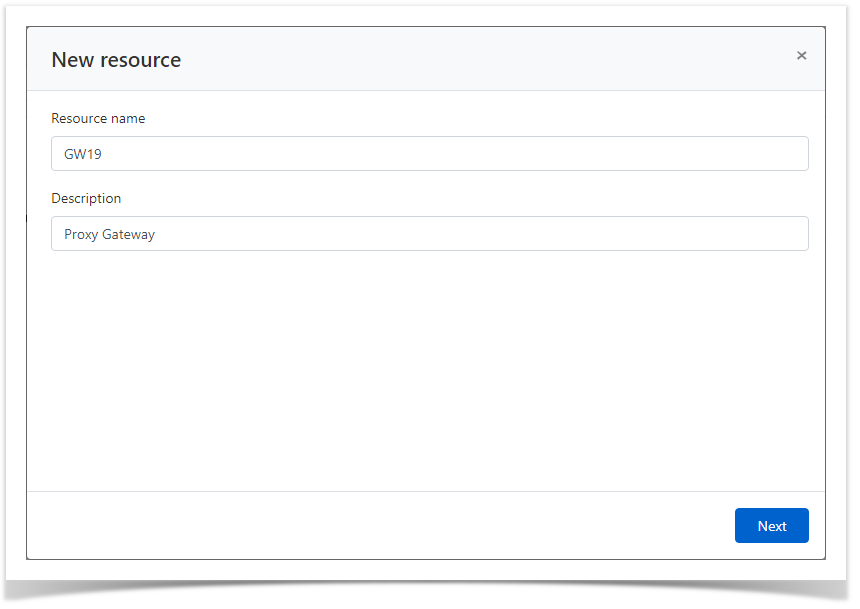
- Configure User connection:
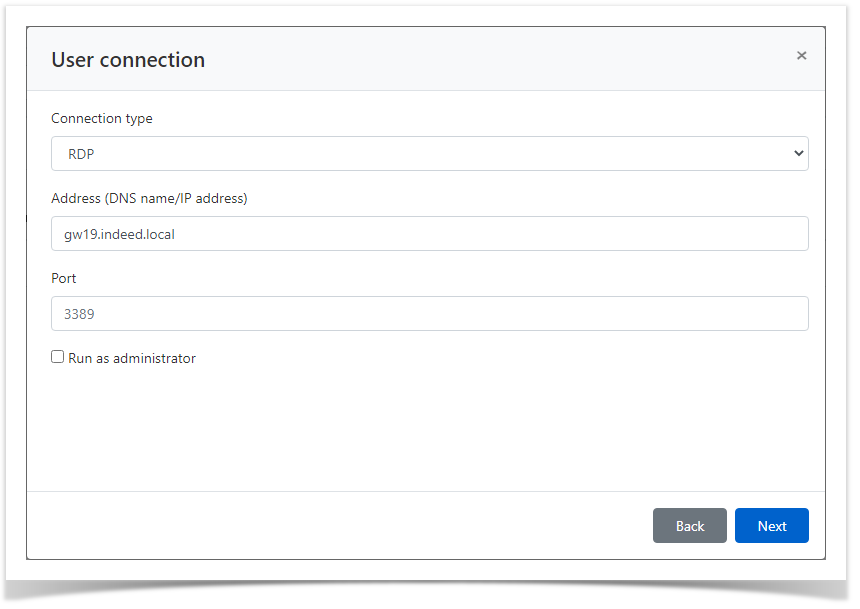
Configuration of user connection with RDP or SSH type:- Select the Connection type - RDP or SSH
Specify the Address (DNS address/IP address)
If non-standard port is used for RDP or SSH connections, then it must be specified in the Port field.
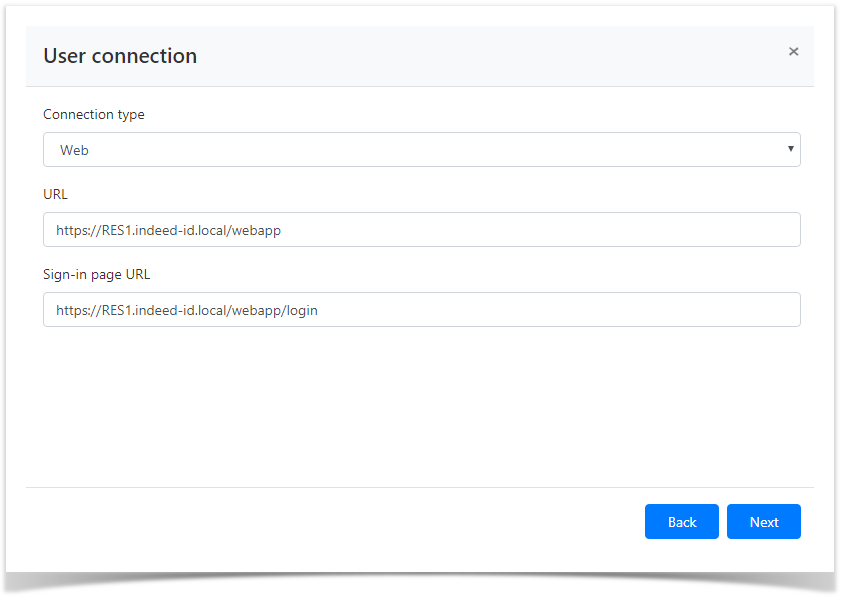
Configuration of user connection with web type:
- Select the Connection type - web.
This connection type is missing in the list by default. The procedure of creating and configuring a new connection type is detailed in the Configuration section.
- Specify the web application URL and login page URL.
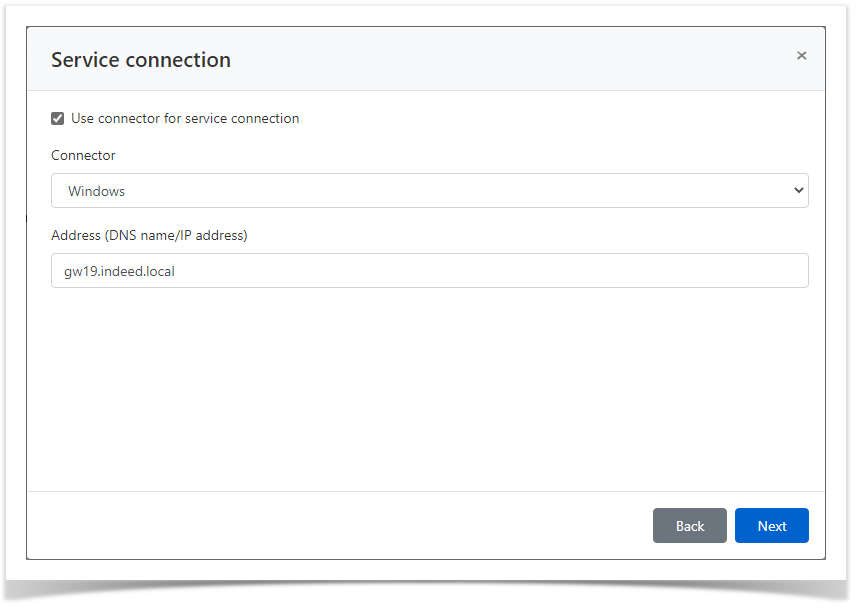
- Configure Service connection.
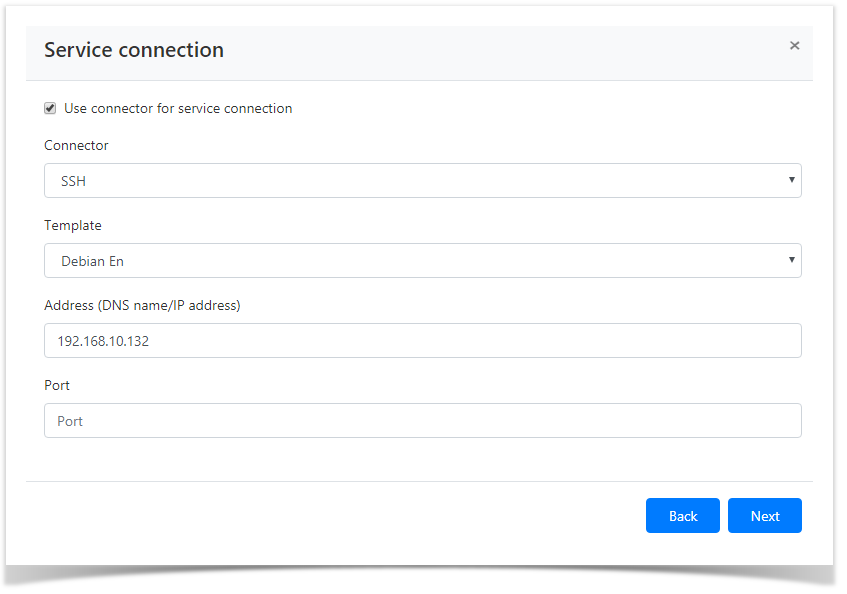
Activate the Use connector for service connection.
If you plan to use a local account of the resource as the service one, then this setting can be skipped. You can return to it after an account for the resource is added. If an Active Directory domain is added to Indeed PAM, then you can use a domain account as service one.
Configuration of service connection with Windows type:- Select Connector - Windows.
- Specify the Address (DNS address /IP address)
 Configuration of service connection with SSH type:
- Select Connector - SSH.
Select the connection template.
There are no templates for SSH service connection by default. The procedure of creating and configuring a new connection type is detailed in Configuration section.
Specify the Address (DNS address/IP address)
If non-standard port is used for SSH connections, then it must be specified in the Port field.
- Select the service account.
To find the account enter Account name completely or partially.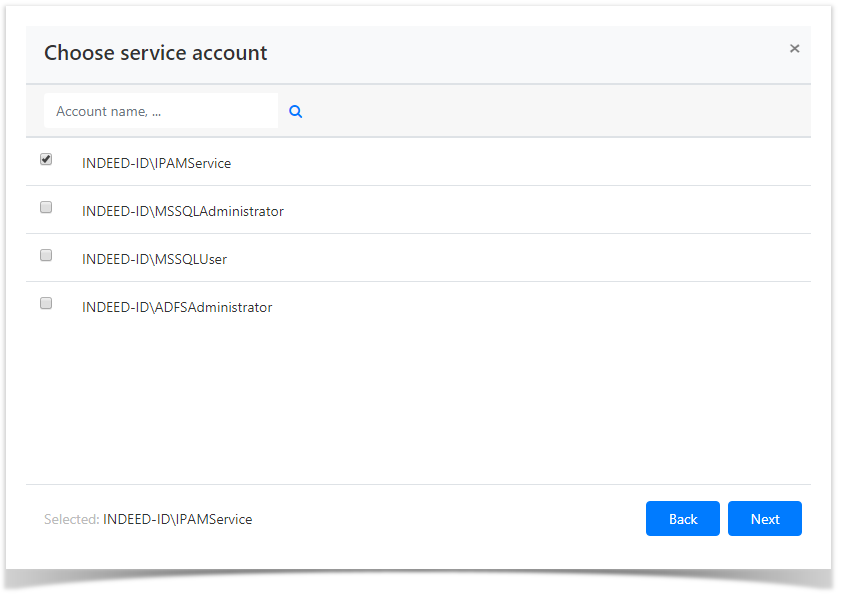
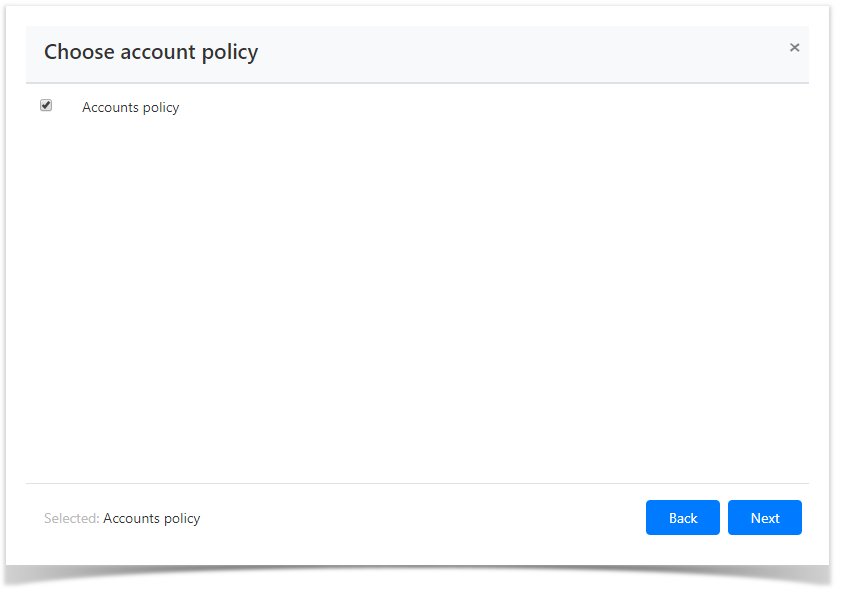
- Select the account policy.
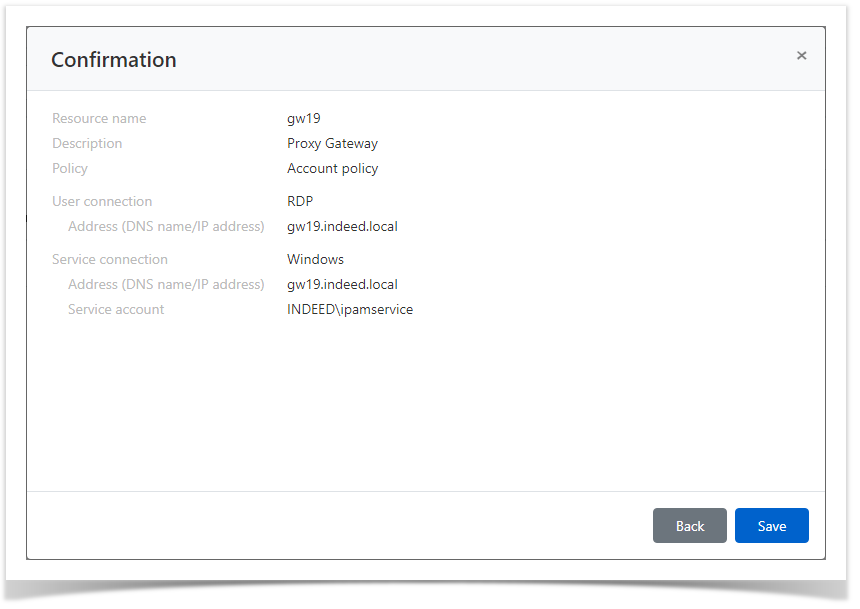
Look through the resource parameters again and click Create.
If you need to modify the resource parameters, simply click Back to return to the required step.
Search for resources
Search is performed in the Resources section.
Textual search
To find the resource, enter Resource name or Address (DNS address/IP address) to the search string completely or partially.
Advanced search
Click Advanced search and enter one or several criteria - Resource name or Address - to the search string completely or partially.
Select the resource status:
- Blocked
Removed
Ready
Check of connection to resource
The connection check allows to determine whether the resource is available in the network, as well as whether the address, account name and password are correct.
Bulk connection check
Mark one or several resources in the Resources section and click Check connection.
Connection check from the resource profile
- Switch to the Resources section and find the required resource.
- Open the resource profile and click Check connection.
Resource editing
To change the Resource name, Description, Policy, User or Service connection, please proceed as follows:
- Switch to the Resources section and find the required resource.
- Open the resource profile and click
 to the right of the required parameter.