Versions Compared

Key

  • This line was added.
  • This line was removed.
  • Formatting was changed.

The

...

database used as data storage is

...

created manually. To populate the database, use the Storage.sql script

...

included in the Axidian CertiFlow installation package (

...

\

...

CertiFlow.Server\Misc).change

...

Creating a database

1. Create a database in SQL Management

...

Studio environment with an arbitrary name

...

:

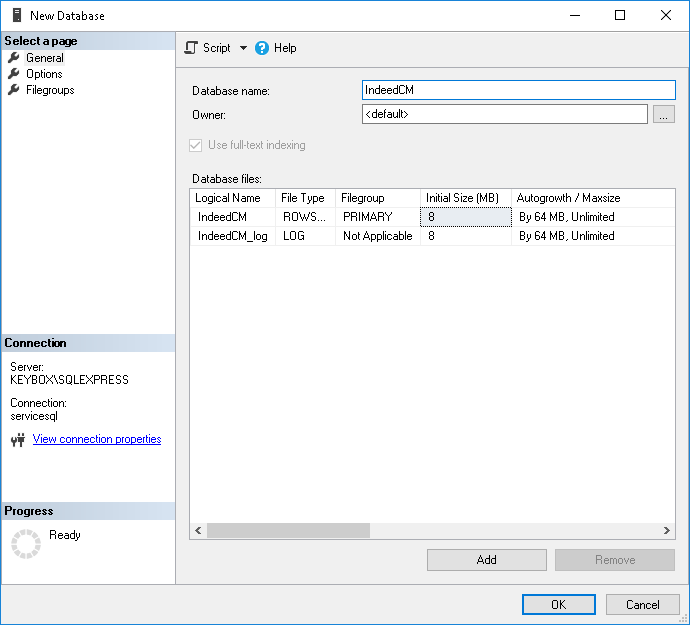
  • In Object Explorer, right-click on Databases tab.
  • Select New Database.
  • Specify the Database Name (e.g.

...

  • CertiFlowDB) andclick OK.

...

Image Added

2. Use a local SQL account (for example, cfServiceSQL) or Windows domain account and define permissions for your database. This account

...

will be used to perform

...

read and write operations to the database

...

. You can connect this account to the database

...

in Axidian CertiFlow Setup Wizard.

  • Define

...

  • Logins for the created database

...

  • (e.g. cfServiceSQL).
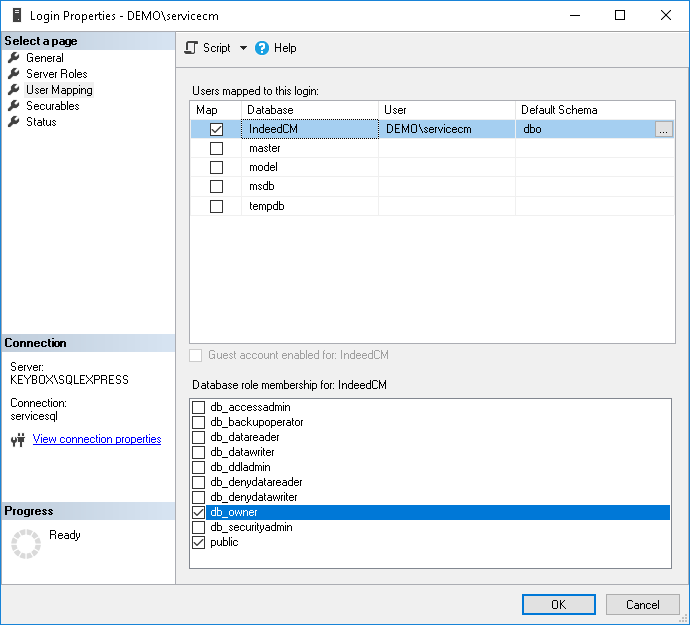
  • Click SecurityLogins, select an account from the list.
  • Go to User Mapping tab.
  • Grant permissions for the selected login to work with the database, specify permissions: db_owner

...

Image Removed

Figure 7 – Microsoft SQL: permissions for working with database.

  • and public.
  • Click OK.

Image Added

3. Select

...

the created database in

...

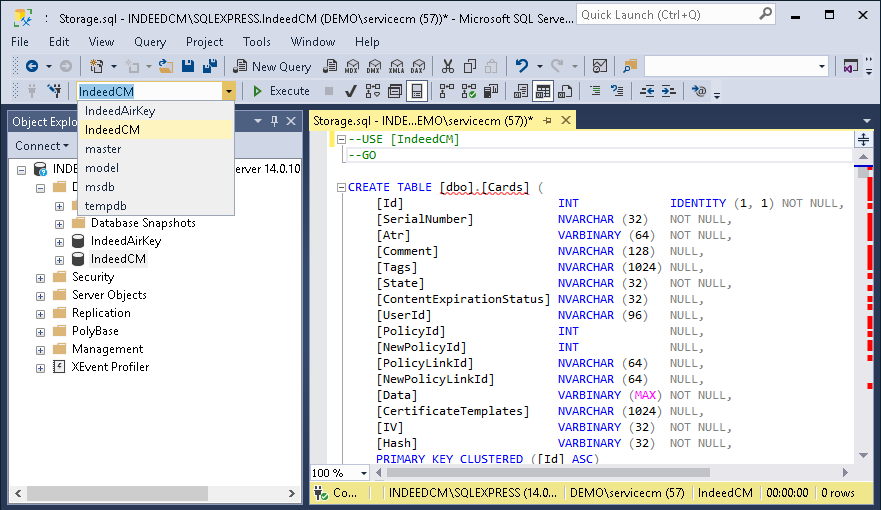
Object Explorer and execute the Storage.sql script:

...

  • Choose File

...

  • Open

...

  • File (or Ctrl+O), specify the path to Storage.sql file (located in ..\

...

  • CertiFlow.Server\Misc

...

  • change directory) and click Open.

...

3. Click Execute and refresh the contents in Object Explorer after script execution is complete.
Expected result is that IndeedCM database contains the following tables in the Tables section:

...

  • Before executing the script, uncomment: --USE [<database name>] --GO and specify the name of the database for which the script is applied (CertiFlowDB): --USE [CertiFlowDB] --GO. Or select the required database in the drop-down menu.
  • Click Execute

Image Added

...