The section is intended to search, issue, revoke and suspend permissions.
Permission search
Search is
locatedperformed in the Permissions section.
Quick search
Enter the Permission number, User name, Account, Resource name or Description in whole or in part in the search bar.
Extended search
Click Extended search and enter one or more criteria, Permission number, Comment in whole or in part, select User name, Account or Resource.
Select permission state:
- Valid
- Revoked
- Suspended
Permission Profile
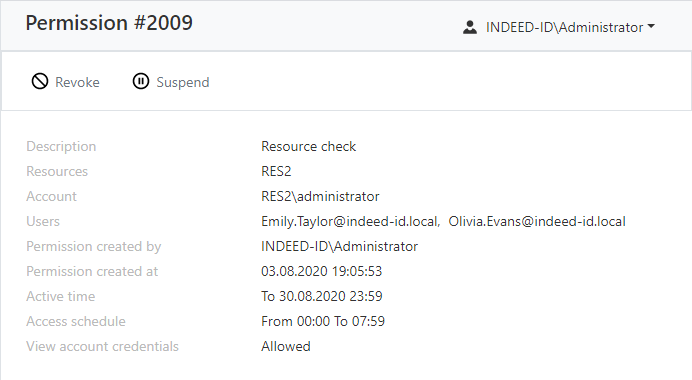
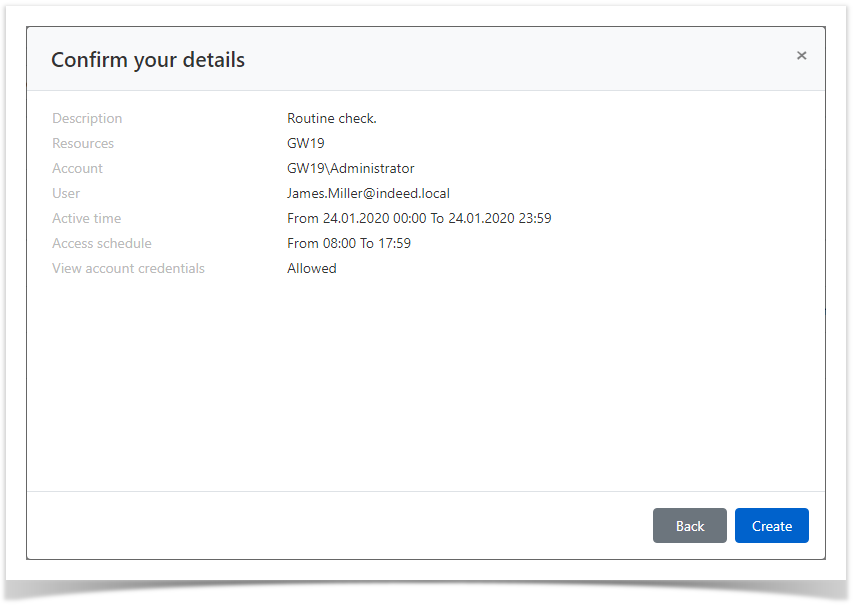
The permission profile displays the following data:
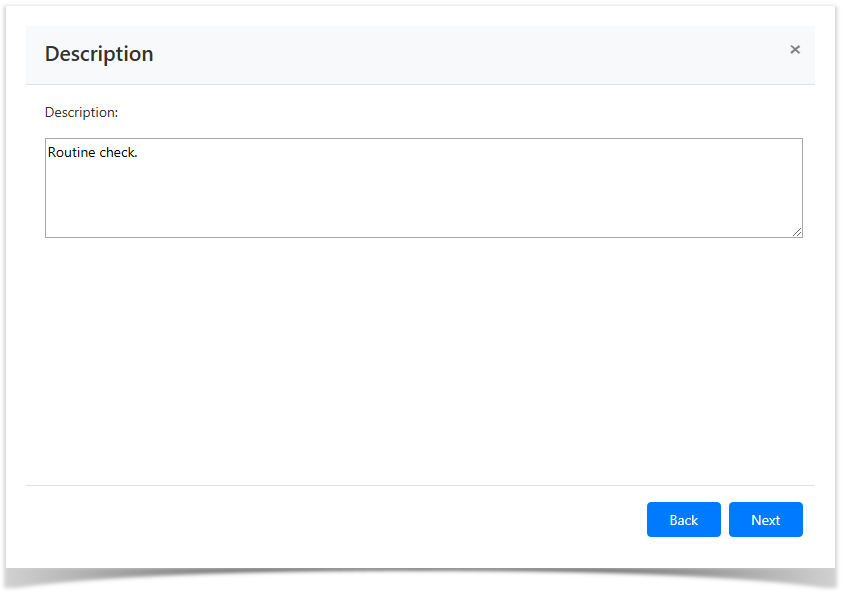
- Description - custom text.
- Resources - resources on which RDP, SSH or web-session can be opened on behalf of the account specified in the permission.
- Account - account that is used to open RDP, SSH or web-session on the resources specified in the permission.
- Users - Active Directory users for which permission is granted.
- Permission created by - Indeed PAM admin account.
- Permission created at - date and time permission was created.
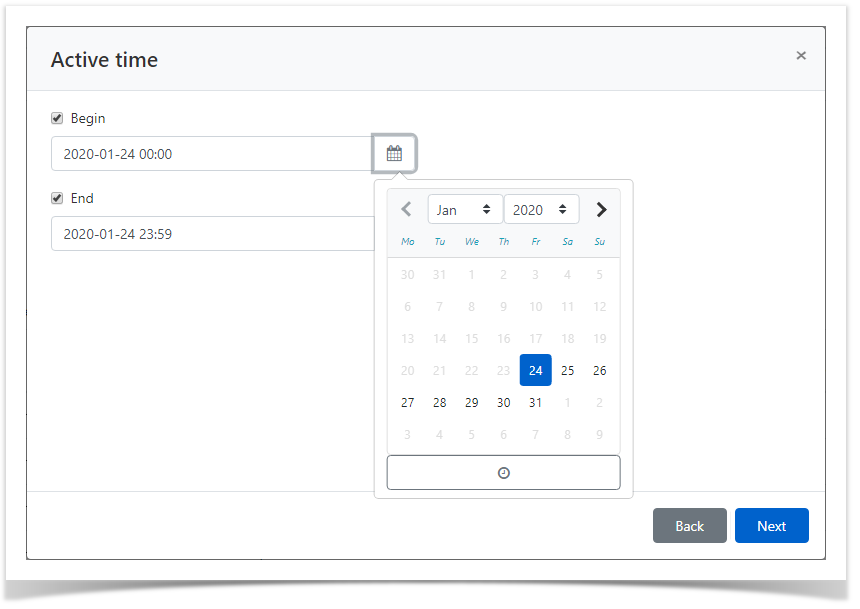
- Active time - permission activity dates.
- Access schedule - permission activity time.
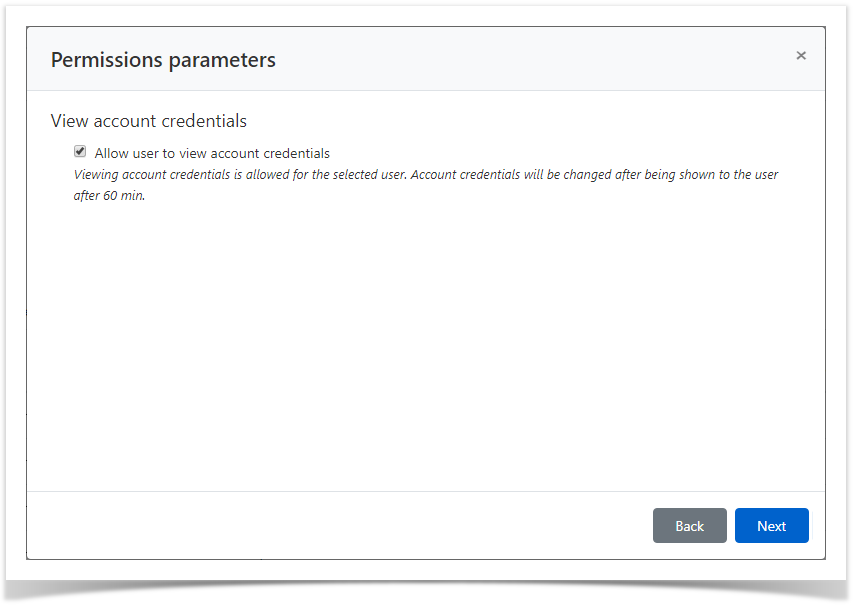
- View account credentials - permission to view the password or SSH key of the access account.
Permissions search
Search is carried out in the Permissions section.
Text search
Enter in the search box in whole or in part # (Permission number), User, Account, Resource or Description.
Extended search
Click Extended search and enter one or more criteria in whole or in part # (Permission number) or Comment, select User, Account or Resource.
Select permission state:
- Valid
- Revoked
Create permission
Permissions give the right to open RDP, SSH or web-sessions. Permission can be issued both from the section Permissions, and form the User, Resource or Account profile.
Select a user directory.
To search, enter the Name, Surname, Phone number or Email in whole or in part.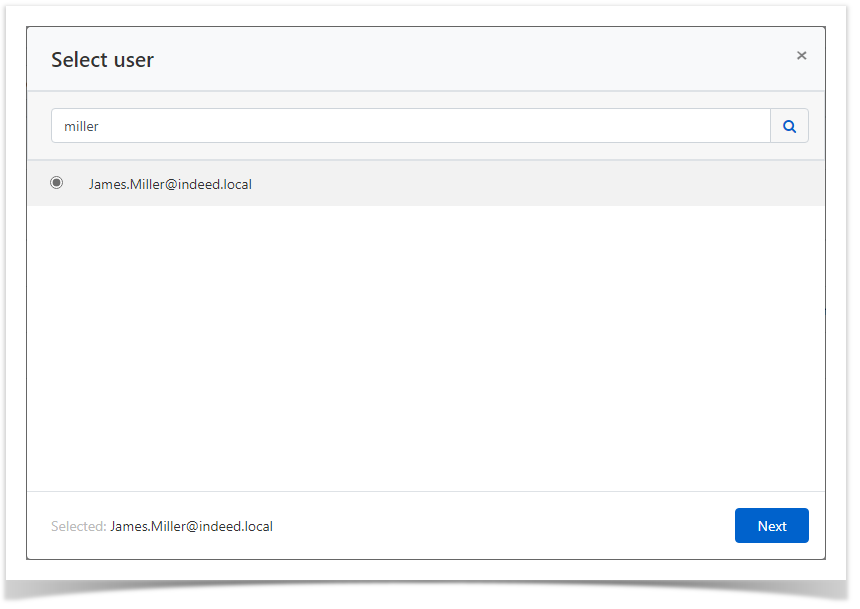
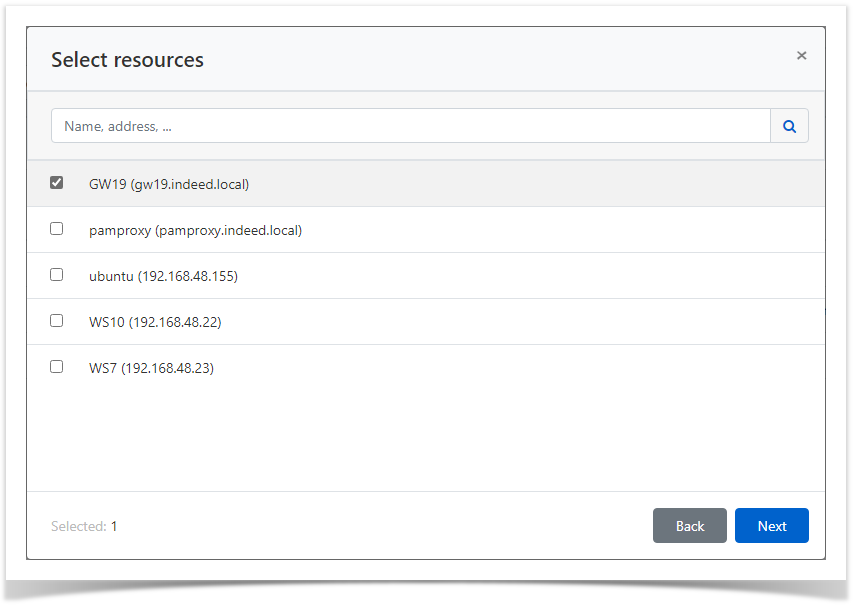
Select resource.
To search, enter the resource Name or Address (DNS address / IP address) in full or in part.
| Note | ||
|---|---|---|
| ||
If more than one resource is selected, then only domain accounts will be used to access them. If one resource is selected, then both local accounts and domain will be used to access it. |
To search, enter the Account Name in whole or in part.
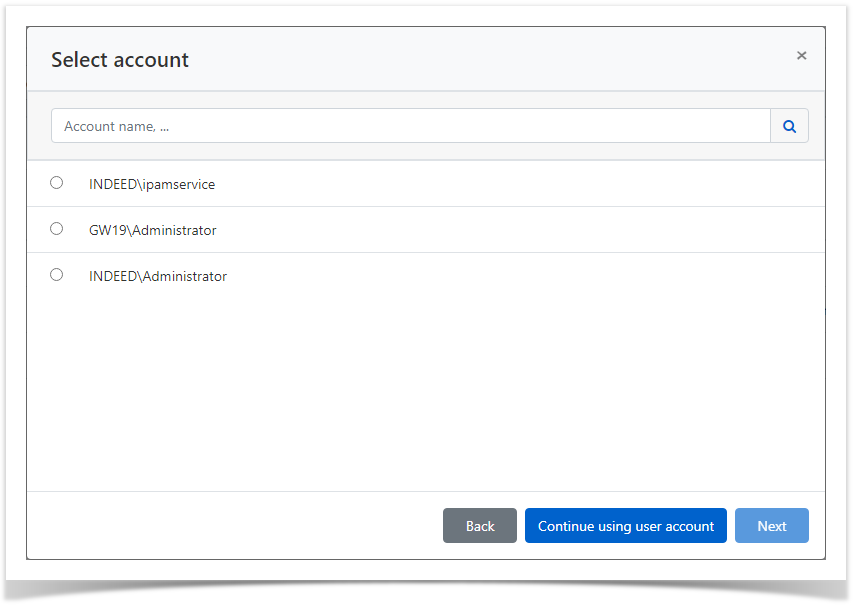
If you select Continue using user account (it will become available if no account is selected), a user account will be used to connect to the resource. In the case of an ssh connection, you will need to enter user authentication data when entering the resource.
| Note | ||
|---|---|---|
| ||
Under the calendar, a time selection tool is available. You can also manually enter dates and times. |
Configure Access Schedule - access restriction time during the day.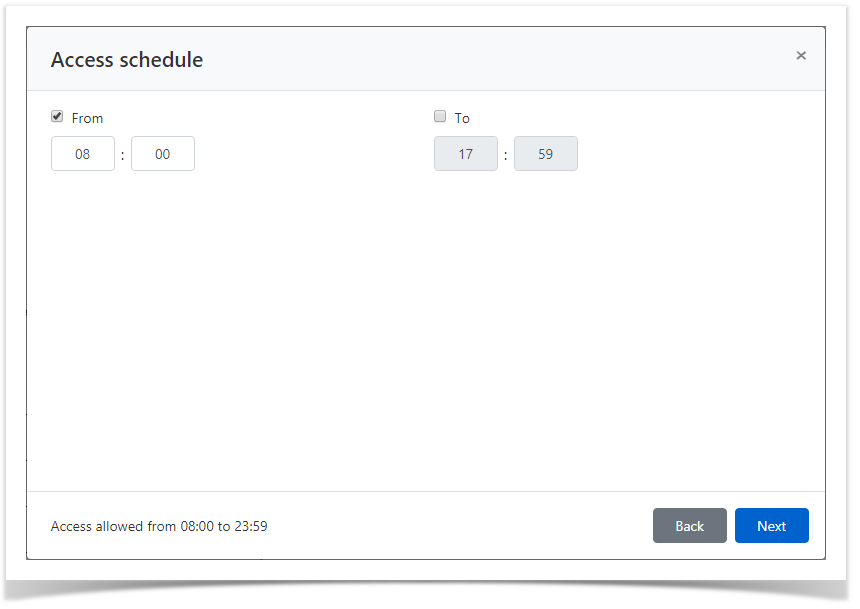
| Note | ||
|---|---|---|
| ||
If the Active time does not contain the marked parameters, then the resolution will be considered unlimited. |
If the user for whom permission is created must have the right
- to view the password or SSH key of the access
| icon | false |
|---|
- account
Review the permission details and click Create.
| Note | ||
|---|---|---|
| ||
If you need to change the permission settings, then you can return to any step by clicking Back. |
Revoke of permission
Bulk Revoke of Permissions
- Go to the Permissions section and select one or more permissions.
- Click Revoke, confirm your actions by clicking Revoke.
Revoke of permission from its profile
- .
| Backtotop | ||||
|---|---|---|---|---|
|
| Divbox | ||||
|---|---|---|---|---|
| ||||
|