Account editing
The function allows you to change the Account Name, Description or Policy.
- Click
 in the account profile to the right of the desired option
Account confirmation
Resource or Domain Synchronization function allows you to get local or domain accounts in automatic mode, but confirmation is required to work with the received accounts, since Indeed PAM does not get their passwords.
- Click Make managed in the account profile
Password and SSH Key
If a service connection of the SSH type is configured for the resource from which the account was added, then it will be possible to generate or manually add not only a password, but also an SSH key. Also, for such accounts it is possible not to set a password: the setup wizard will display an additional item when setting a password - Not set. Below we will consider an example of confirming an *nix account . When confirming Windows OS accounts, DBMS or domain accounts, the Not set item will be missing, and there will be no page for generating or manually setting an SSH Key.
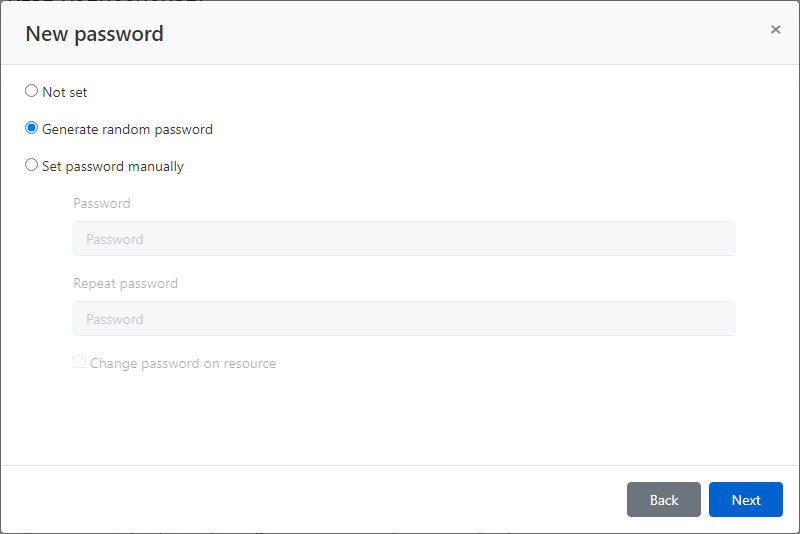
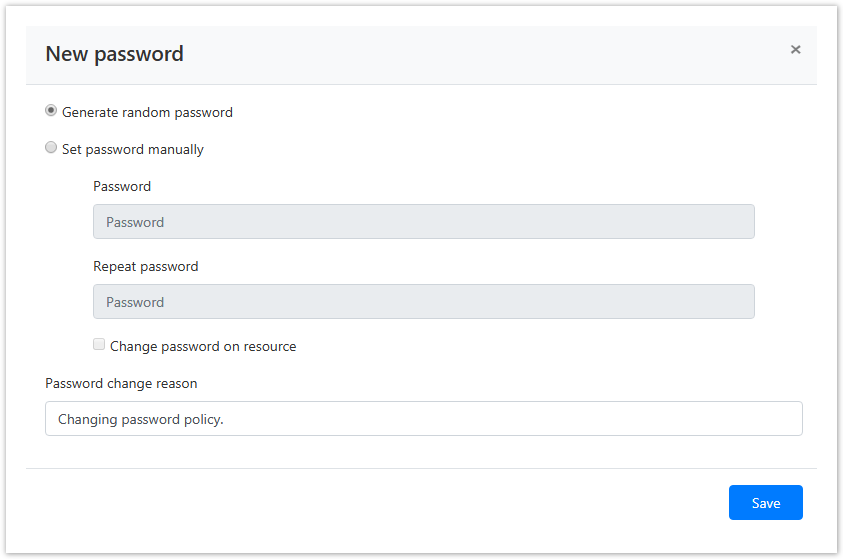
Password settings
- Select Not set, Generate random password, or Set password manually
- Enter a password or continue by selecting Not set or Generate random password
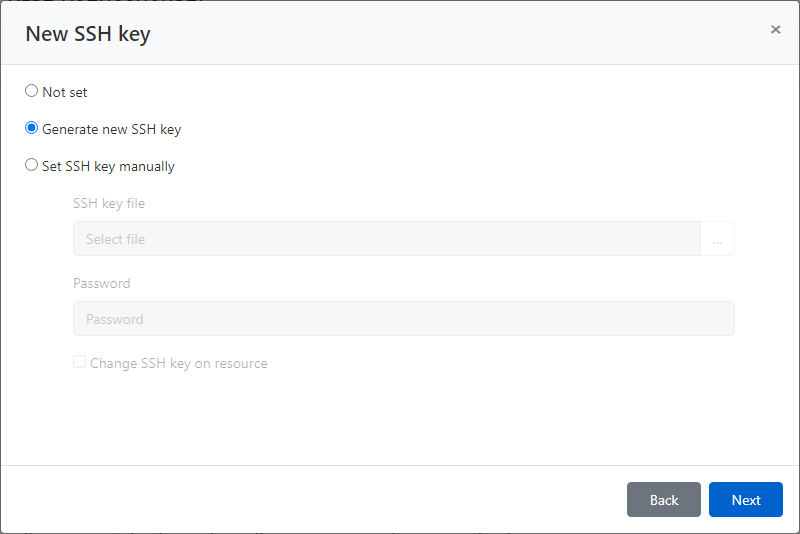
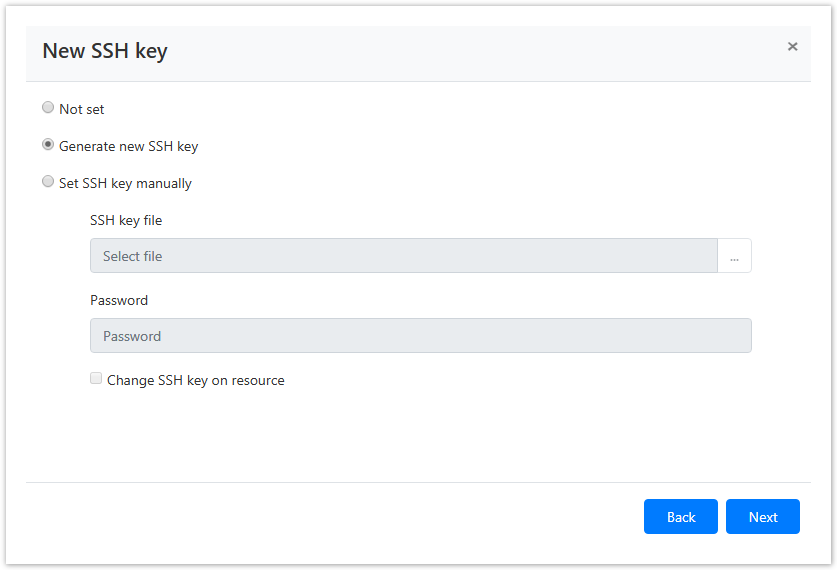
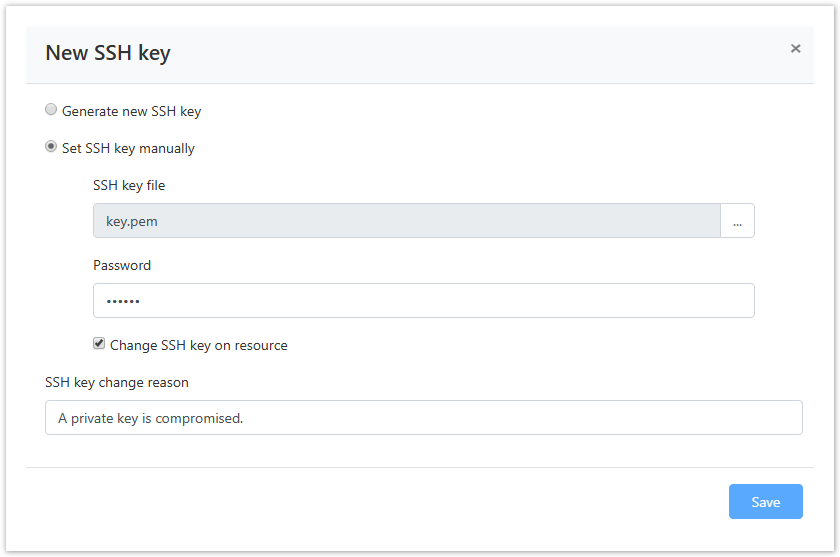
SSH Key settings
- Select Not set, Generate new SSH key, or Set SSH key manually.
- Select the SSH key file and enter its password, or continue by selecting Not set or Generate new SSH key.
Session policy selection
- Select a session policy.
- Finish adding your account
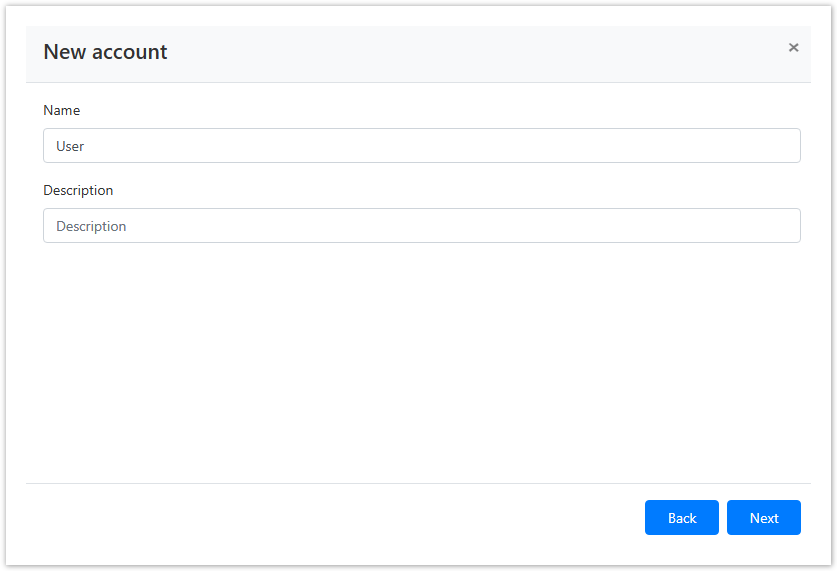
Adding an account
To manage the account and to provide for access to it to directory users, you have to add the account to the Indeed PAM.
Switch to Accounts section and click Add.
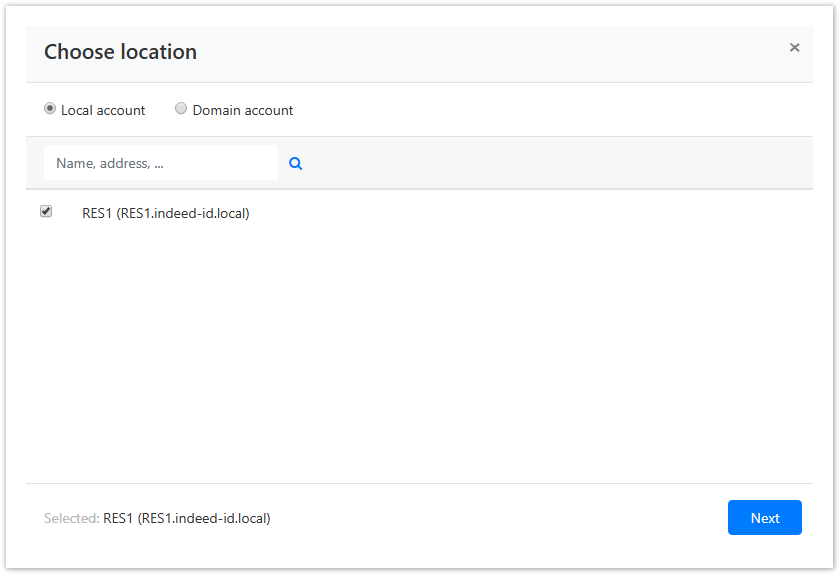
Select the account arrangement:
Local account
To find account enter Resource name or Address (DNS address/IP address) completely or partially.- Domain account
To find the account enter the domain NetBIOS name or DNS name completely or partially.
Not set
| Note | ||
|---|---|---|
| ||
This option is only available if user or service SSH connection is used, as this connection type allows for account storage with SSH key only. If Not set option is selected, then you should set a SSH key for the account. |
Generate random password
Set password manually + Change password for resource
| Note | ||
|---|---|---|
| ||
Options Generate random password or Set password manually + Change password for resource can only be used with service connection. If Set password manually option is selected, and Change password for resource is not, then the account password is changed in the Indeed PAM only. |

- Not set
Generate new SSH key
Set SSH key manually + Change SSH key for resource
| Note | ||
|---|---|---|
| ||
Options Generate new SSH key or Set SSH key manually + Change SSH key for resource can only be used with service connection. If Set SSH key manually option is selected, and Change SSH key for resource is not, then the account SSH key is changed in the Indeed PAM only. |
Select the session policy.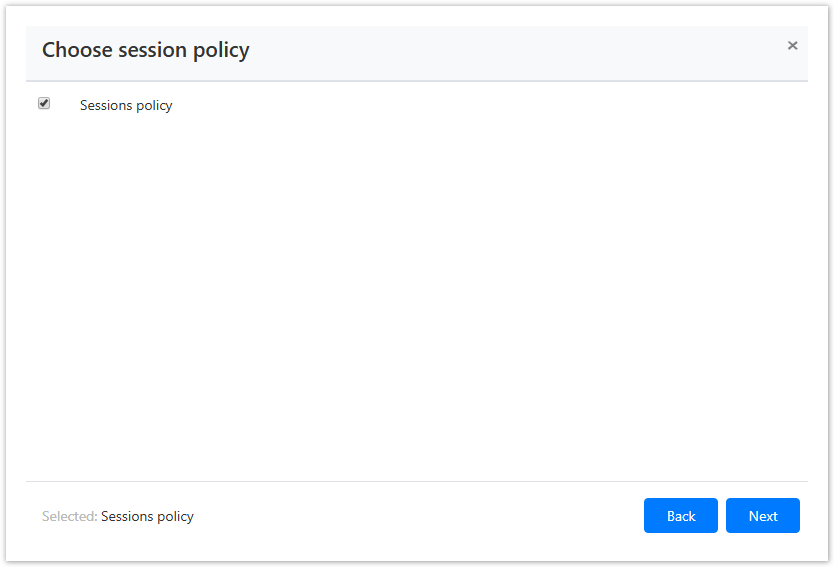
Look through the account parameters again and click Save.
| Note | ||
|---|---|---|
| ||
If you need to modify the account parameters, simply click Back to return to the required step. |
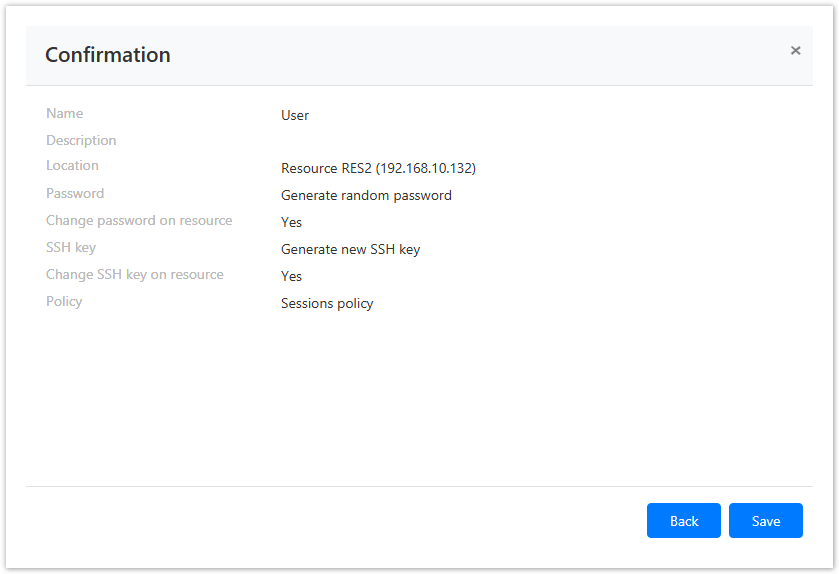
The account will be displayed in the Accounts section. You can now use it to set permissions.
Search for accounts
Search is performed in the Accounts section.
Text search
To find the account enter Account name to the search string completely or partially.
Extended search
Click Extended search and enter one or several criteria, Account name completely or partially.
Select the account status:
- Pending
- Ignored
- Managed
- Blocked
- Removed
Select the account location:
To find account enter Resource name or Address (DNS address/IP address) completely or partially.
To find the account enter the domain NetBIOS name or DNS name completely or partially
- .
Verification of password or SSH key
This The function allows you to check whether the account password or SSH key is valid.
Bulk verification
Select one or several accounts in the Accounts section and click Check.
Verification from the account profile
Switch to the Accounts section and find the required account.
Open the Account profile and click Check.
Password change
- Click Check in the account profile
Password change
The function allows you to change the password to a random value or enter a new password manually.
- Click Change password in the Account profile
Select one of the following options
Generate random password
or Set password
| Note | ||
|---|---|---|
| ||
Options Generate random password or Set password manually + Change password for resource can only be used with service connection. If Set password manually option is selected, and Change password for resource is not, then the account password is changed in the Indeed PAM only. |
manually
- Enter the password or continue by selecting Generate random password
Fill in the Password change reason and click Save
SSH
keyKey change
SwitchThe function allows you to
the Accounts section and find the required account.Open the Account profile and click Change SSH key.change the key to a random value or upload the new key manually.
- Click Change SSH key in the account profile
Select one of the following options:
Generate new SSH key
or Set SSH key manually
| Note | ||
|---|---|---|
| ||
Options Generate new SSH key or Set SSH key manually + Change SSH key for resource can only be used with service connection. If Set SSH key manually option is selected, and Change SSH key for resource is not, then the account SSH key is changed in the Indeed PAM only. |
- Select the SSH key file and enter its password or continue by selecting Generate new SSH key
Fill in the SSH key change reason and click Save
Password or SSH key recovery
To recover a password or SSH key, you must:
- Switch to the Accounts section and find the required account.
- Open the Account profile and click Rollback.
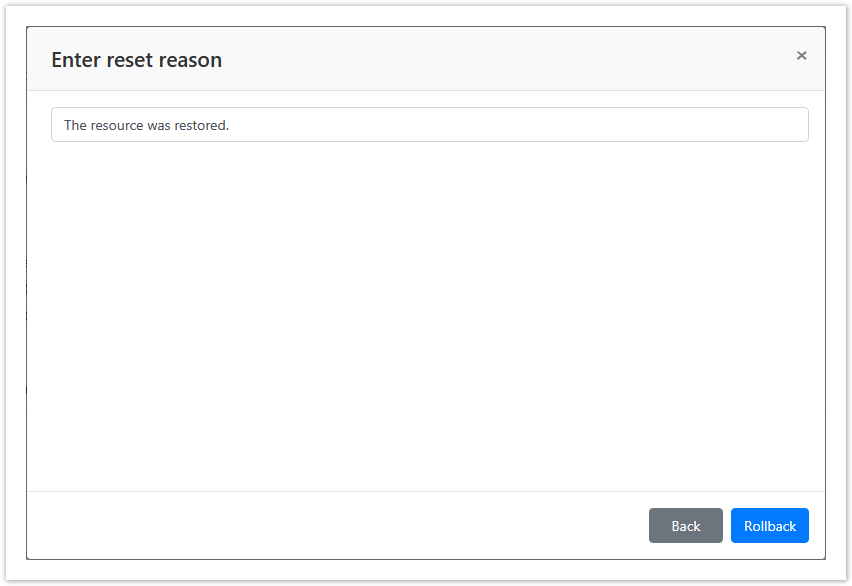
- Select recovery point and click Next.
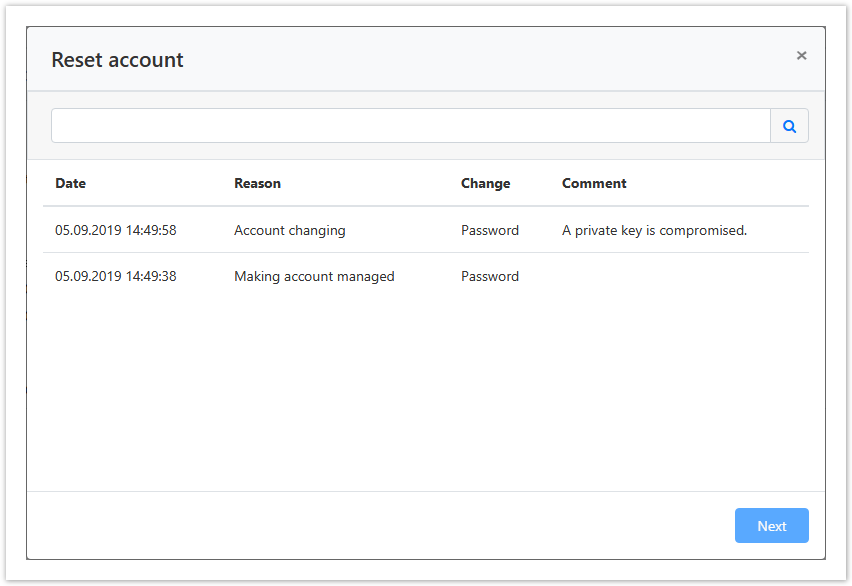
- Enter the reason for recovery and click Rollback.
Editing an account
To change the Account name, Description or Policy, please proceed as follows:
Switch to the Accounts section and find the required account.
Open the account profile and click
 to the right of the required parameter.
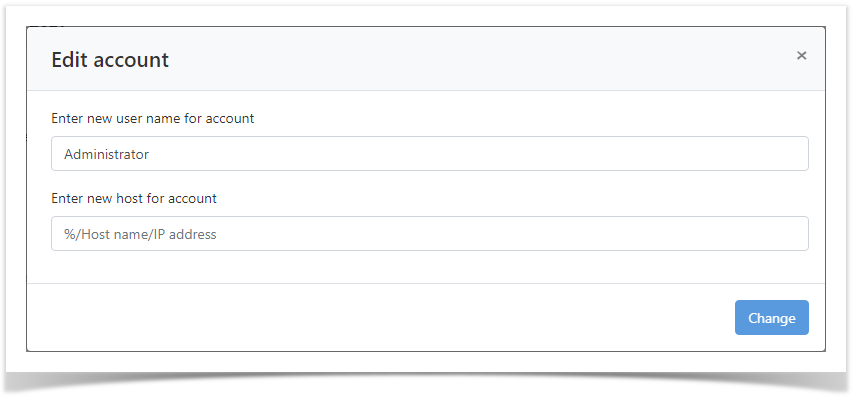
Setting up a MySQL service account
To connect to MySQL, the account is specified with the name of a host. To add a new host to a MySQL account:
Synchronization
The function allows you to get the list of groups the account belongs to.
- Click Sync in the account profile
Blocking
The function allows you to suspend all permissions in which the account is used.
Click Block in the account profile
Note icon false The account will be marked with the  symbol. All permissions in which the account is a member will be marked with the
  symbol.
Ignoring
The function allows you to put an account in a state in which it is stored without a password and cannot be used in permissions.
Click Ignore in the account profile
Warning icon false The account will be marked with a
 symbol. All permissions with this account will be revoked.
Removing/rolling back an account
Removing an account
- Click Remove on your account profile
Rolling back accounts
- Click Extended search in the Accounts section.
- Enter your Account name in whole or in part.
- Set the State field to Removed.
- Select the resource or domain from which the account was added.
- Open your account profile and click Rollback.
- Select a password recovery point for your account.
- Enter the reason for the recovery and click Rollback.
Backtotop Delay 0 Distance 250
| Divbox | ||||
|---|---|---|---|---|
| ||||
|